I was that annoying kid who immediately after I received a box of chocolates, took a bite out of each one and put it back. I would also open all my holiday candy at once and taste everything.
I don’t do that any more.
Well.
Maybe sometimes.
I can’t help it. I am powerless over my addiction to all things sparkly.
This is also what happens after one month of brown. I just reviewed my November posts, and although I thought the posts featured delicious Fall/Thanksgiving worthy recipes, but omg I noticed how everything (except for the WAD macarons) was so brown brown brown…
…and more brown.
It made Mama just want to throw some sparkle down!
So I promise December will be filled with explosions of holiday colors. The Mad Hausfrau will create the fun, the fanciful and the pretty. There will be doughnuts, truffles, cupcakes, printen, ginger bears in jeans, visits to German Christmas markets and oh so much more.
Now for my first attempt to shake off the November brown blues…..
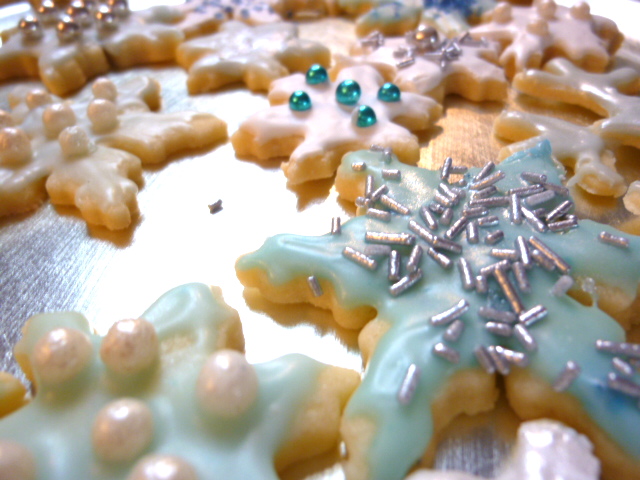
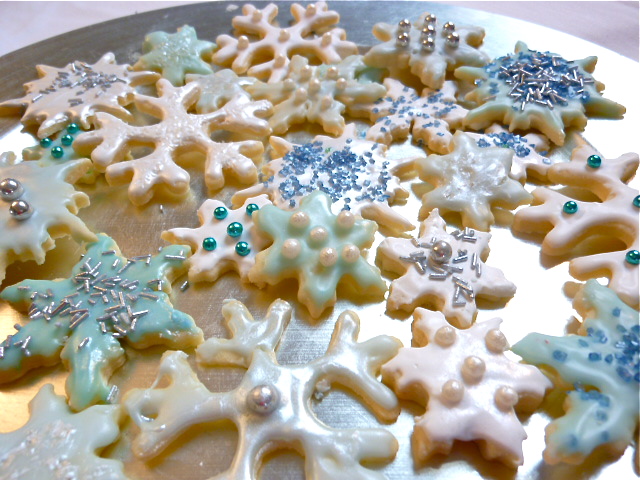
Last year I did these blue, white and silver pastel snowflakes out of a plain sugar cookie recipe.
Time to take it up a notch.
or two…
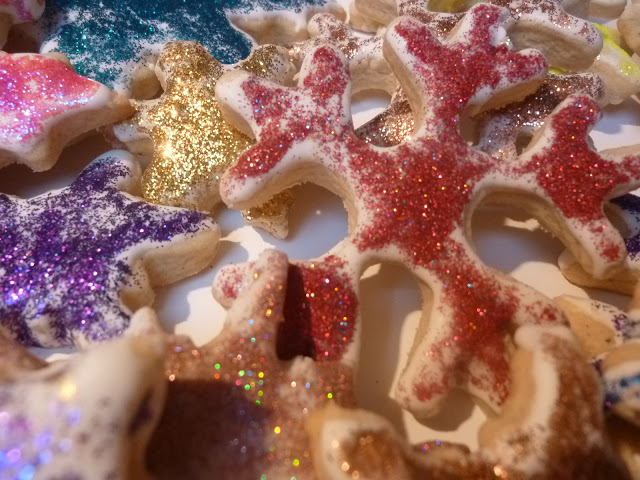
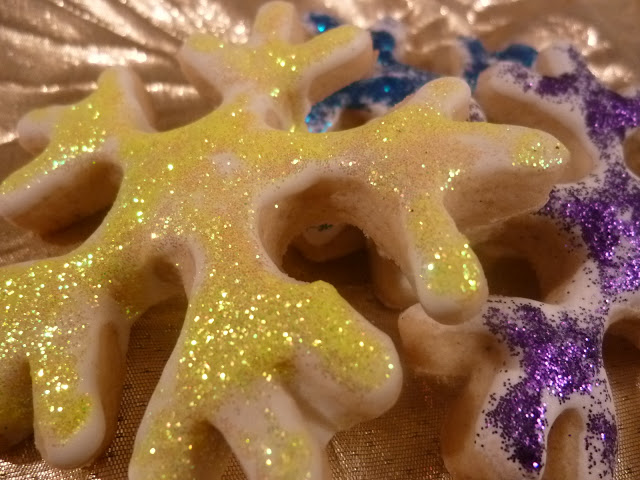
BAM! Electric Snowflakes…
Yeah, that’s better. No more suppressing the sparkly. These cookies not only look electric but pack a great taste punch as well.
Now if you’ll excuse me, I need to go find a 12 step program for glitter addicts…
 For the Clove Sugar Cookies:
Ingredients:
- 1+ 2/3 cups AP four
- 1/2 teaspoon baking powder
- 1/2 teaspoon powdered cloves
- 1/2 stick unsalted butter
- 1/2 cup granulated white sugar
- 1 egg
- 1 teaspoon clove extract
- 1/2 teaspoon vanilla extract
Directions:
- Preheat oven to 350 degrees F
- Line cookie sheets with parchment paper
- Sift together flour, baking soda and powdered clove and set aside
- Cream butter and sugar together, add beaten egg and blend
- Add extracts and mix well.
- Add flour mixture and mix until combined.
- Divide dough in half and wrap separately in plastic film.
- Chill for at least one hour.
- Removing dough one half at a time, sprinkle flour on a flat surface, roll out dough and cut out shapes with cookie cutters.
- Place cookies lined baking sheets and bake for 8-10 minutes or until slightly brown at edges.
- Transfer to wire racks to cool.
For the Mint Royal Icing:
Ingredients:
- 2 cups Powdered Sugar
- 2 tablespoons Milk
- 1 tablespoon Meringue powder
- 1 teaspoon mint extract
- Mix together sugar and milk
- Add meringue powder and extract
- Divide into bowls and color each with desired shades
- Ice cookies by either painting the icing on with a small paintbrush or using a squeeze bottle for the outline and flood method.
- Cover with sprinkles, nonpariels, edible glitter, dragees, spray on color, disco dust, whatever your heart desires.






3 comments
Wow! Now that is seriously taking things up a notch for sure. Fabulous 🙂
Snap! I just finished making Christmas cookie ornaments with my kids – mint cookies with mint icing! (Will photo and post after we get our tree up this weekend…) Yours look so much prettier than ours though, since I was lazy and went with plain white. 🙁
By the way, the Foodies Sans Frontieres website is up and you are featured as a 'Donor'. You are welcome to come over and grab your badge whenever you get a chance!
http://www.foodiessansfrontieres.org
Cheers,
Ruby
I bet glitter orgies were popular at the underground discotheques back in the day.
I love how you jazzed up the standard sugar cookie with some cloves. I'm loving all of the color!