
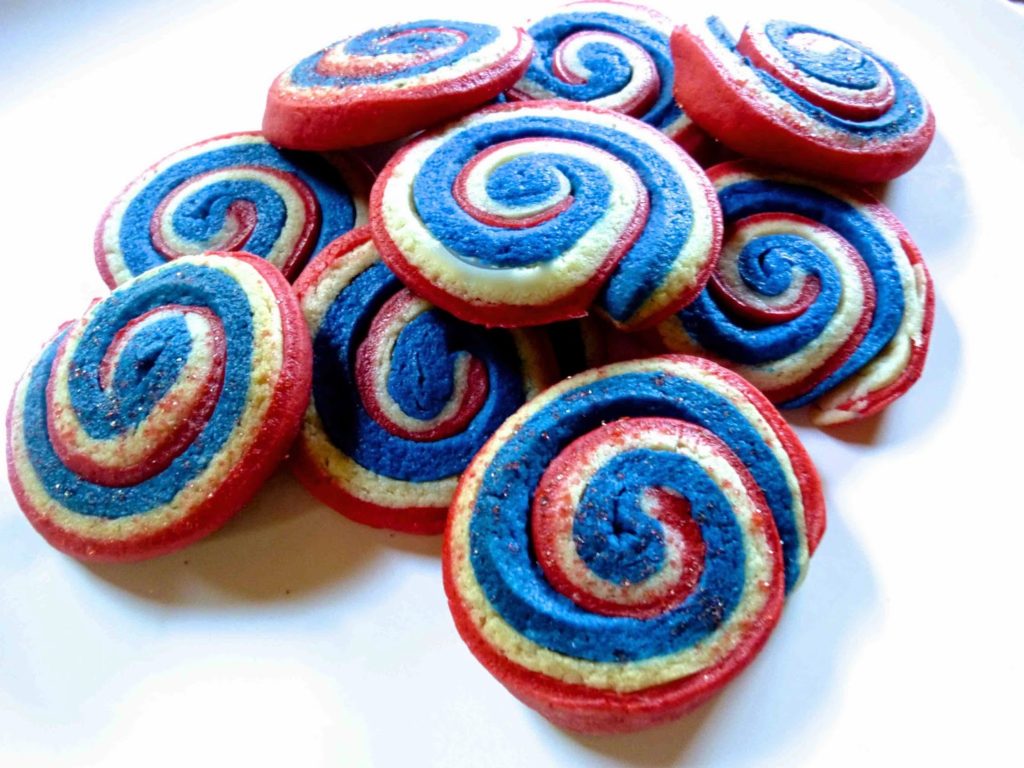
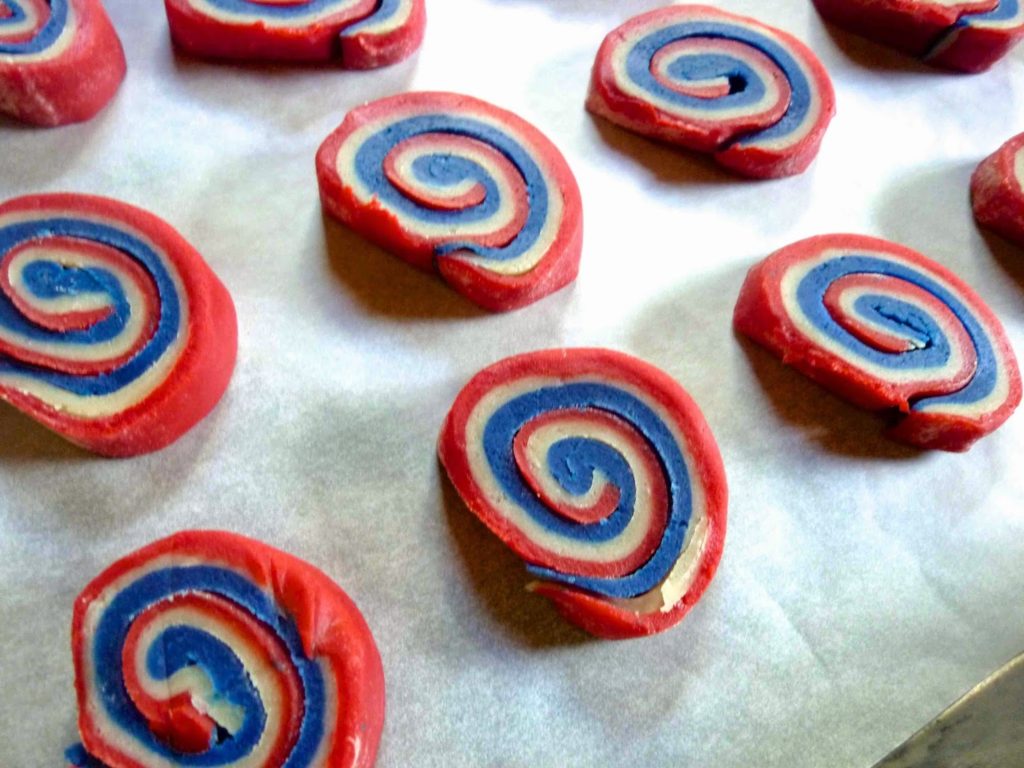
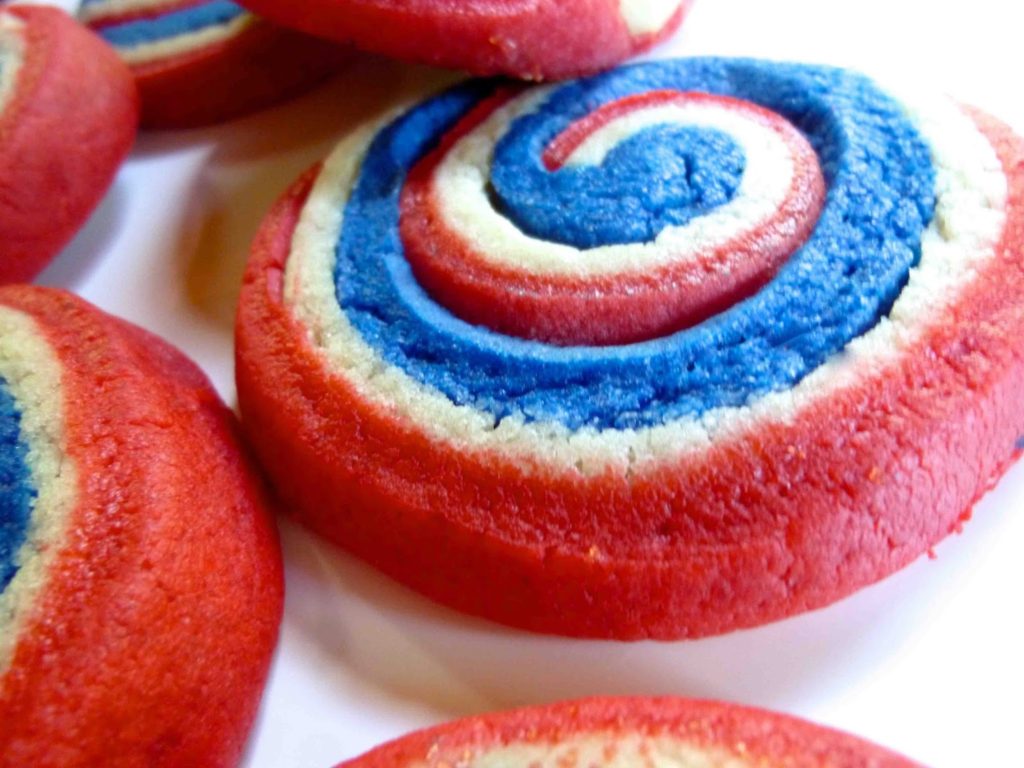
With lots of leftover vanilla sugar cookie dough in the freezer, it was easy peasy to repurpose into these lovely, bright pinwheel cookies.
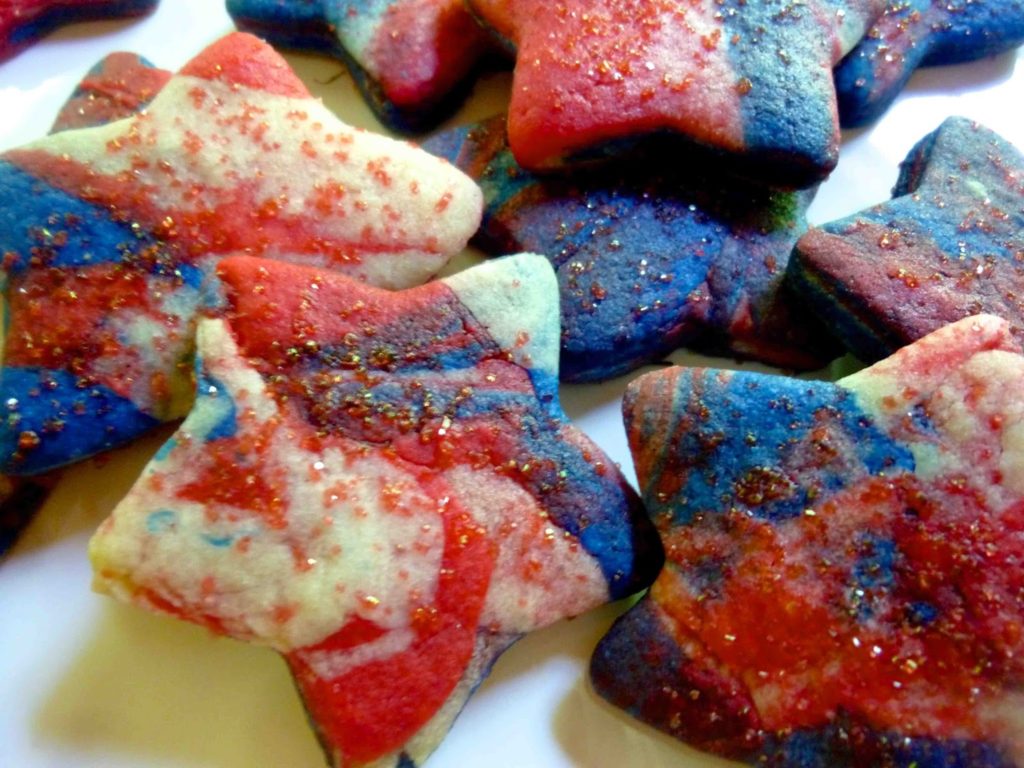
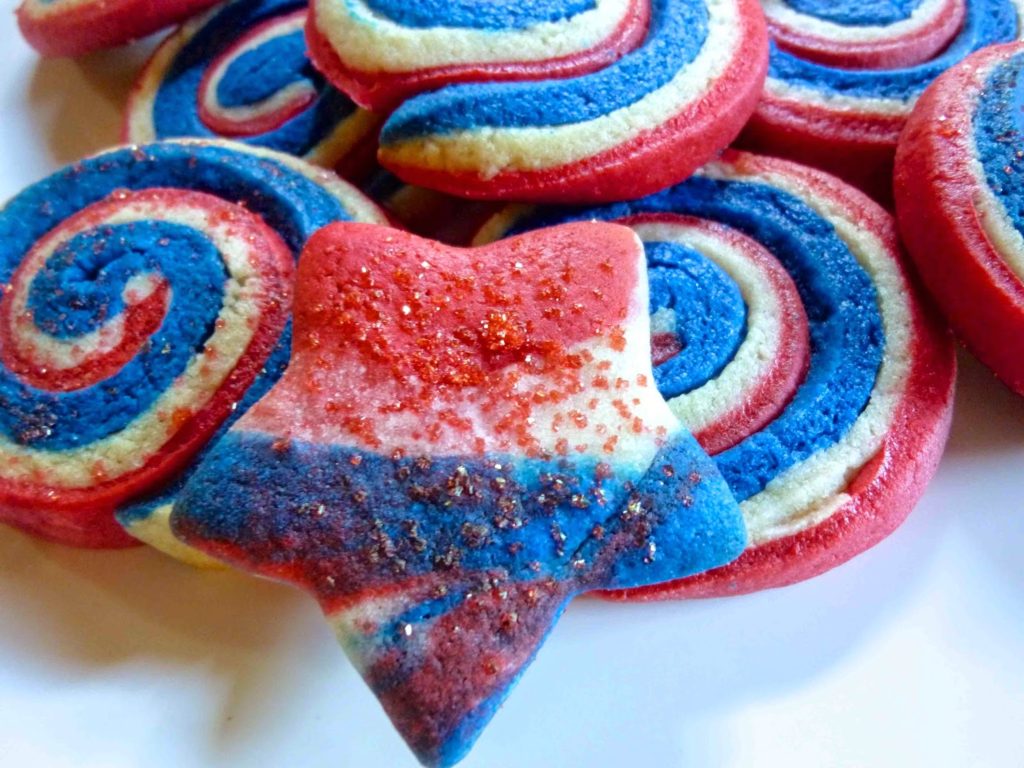
Squished the dough scraps together, rolled them out, and used a cutter to create tie-dyed star-shaped cookies to complement the pinwheels.
Half the cookies I sprinkled sanding sugar before baking, and half I left plain because I couldn’t decide which look I liked better. Why not do both?
Why Slice and Bake Cookies?
Slice and bake cookies offer the ultimate convenience for home bakers and cookie lovers alike. With minimal prep time and zero fuss, these make-ahead cookies let you enjoy fresh, homemade treats whenever the craving strikes. These Red White & Blue Pinwheel Cookies are a bit more work. Mainly because of the work that goes into tinting the dough.
 However, for regular versions, simply mix the dough, shape it into a log, chill or freeze it. Then slice and bake as needed—no rolling pins or cookie cutters required. Perfect for holiday baking, last-minute guests, or stress-free dessert planning, slice and bake cookies are the go-to choice for busy kitchens. Plus, they deliver consistent results, making them ideal for gifting or entertaining.

Most definitely give these Red White & Blue Pinwheel Cookies a try. However, today, let’s take a moment to think about and thank all military personnel for their service and dedication. Also, let’s remember the military spouses and families’ sacrifices.
Peace.

Red White and Blue Pinwheel Cookies
Prep Time 30 minutesCook Time 8 minutesChill time 1 hourServings 1 dozIngredients
- Your favorite sugar cookie dough, homemade or storebought.
- Red and blue paste food coloring
- Sanding sugar (optional) optional
Instructions
-
Divide the dough into three equal parts.
-
Work the red color into one portion of the dough, then the blue into another. Leave the third plain.
-
Shape into flat rectangles, all approximately the same size.
-
Individually wrap all three pieces with plastic cling film and place in the fridge for at least a half hour.
-
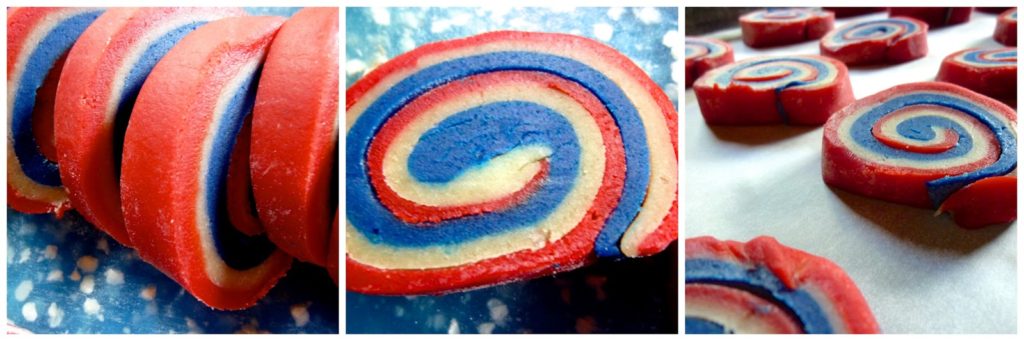
Roll out the red dough into a thin large rectangle on a lightly floured surface.
-
Repeat with the un-tinted dough and gently lay it on top of the red dough.
-
Repeat with the blue portion, laying it gently on the plain cookie dough layer.
-
Using a sharp knife, trim the edges all around to make all edges straight.
-
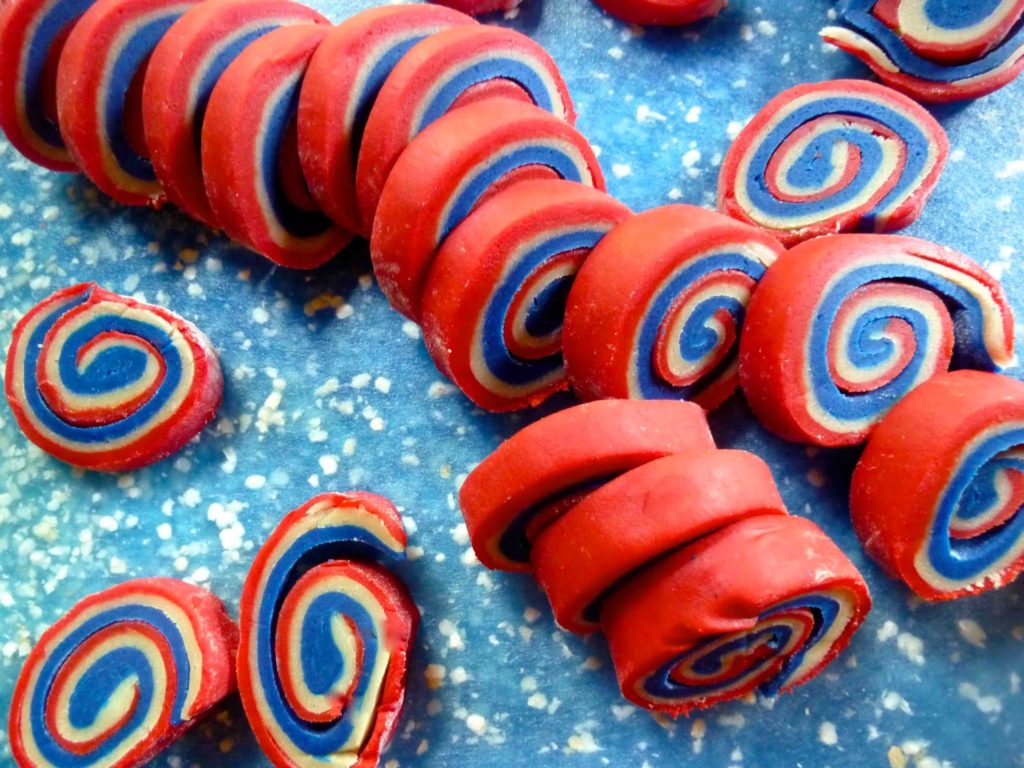
Starting at the wide end of the dough layers, roll the dough into a log.
-
Wrap in plastic cling film and place in the fridge for at least an hour.
-
Preheat oven to 350 degrees F.
-
Line two baking sheets with parchment paper.
-
Remove from fridge and using a sharp knife, slice the log into pieces and lay them on the baking sheets.
-
Sprinkle with sanding sugar if desired.
-
Gently squish the scraps together and roll them out on the floured surface.
-
Use a cutter to make shapes, sprinkle with sanding sugar (optional) and place on baking sheets.
-
Bake for approximately 8 minutes. Remove from the oven right before the cookies start browning.
-
Transfer to a wire rack and let cool completely.
So, do you like these Red White & Blue Pinwheel Cookies? Then also check out some of these other delicious recipes:
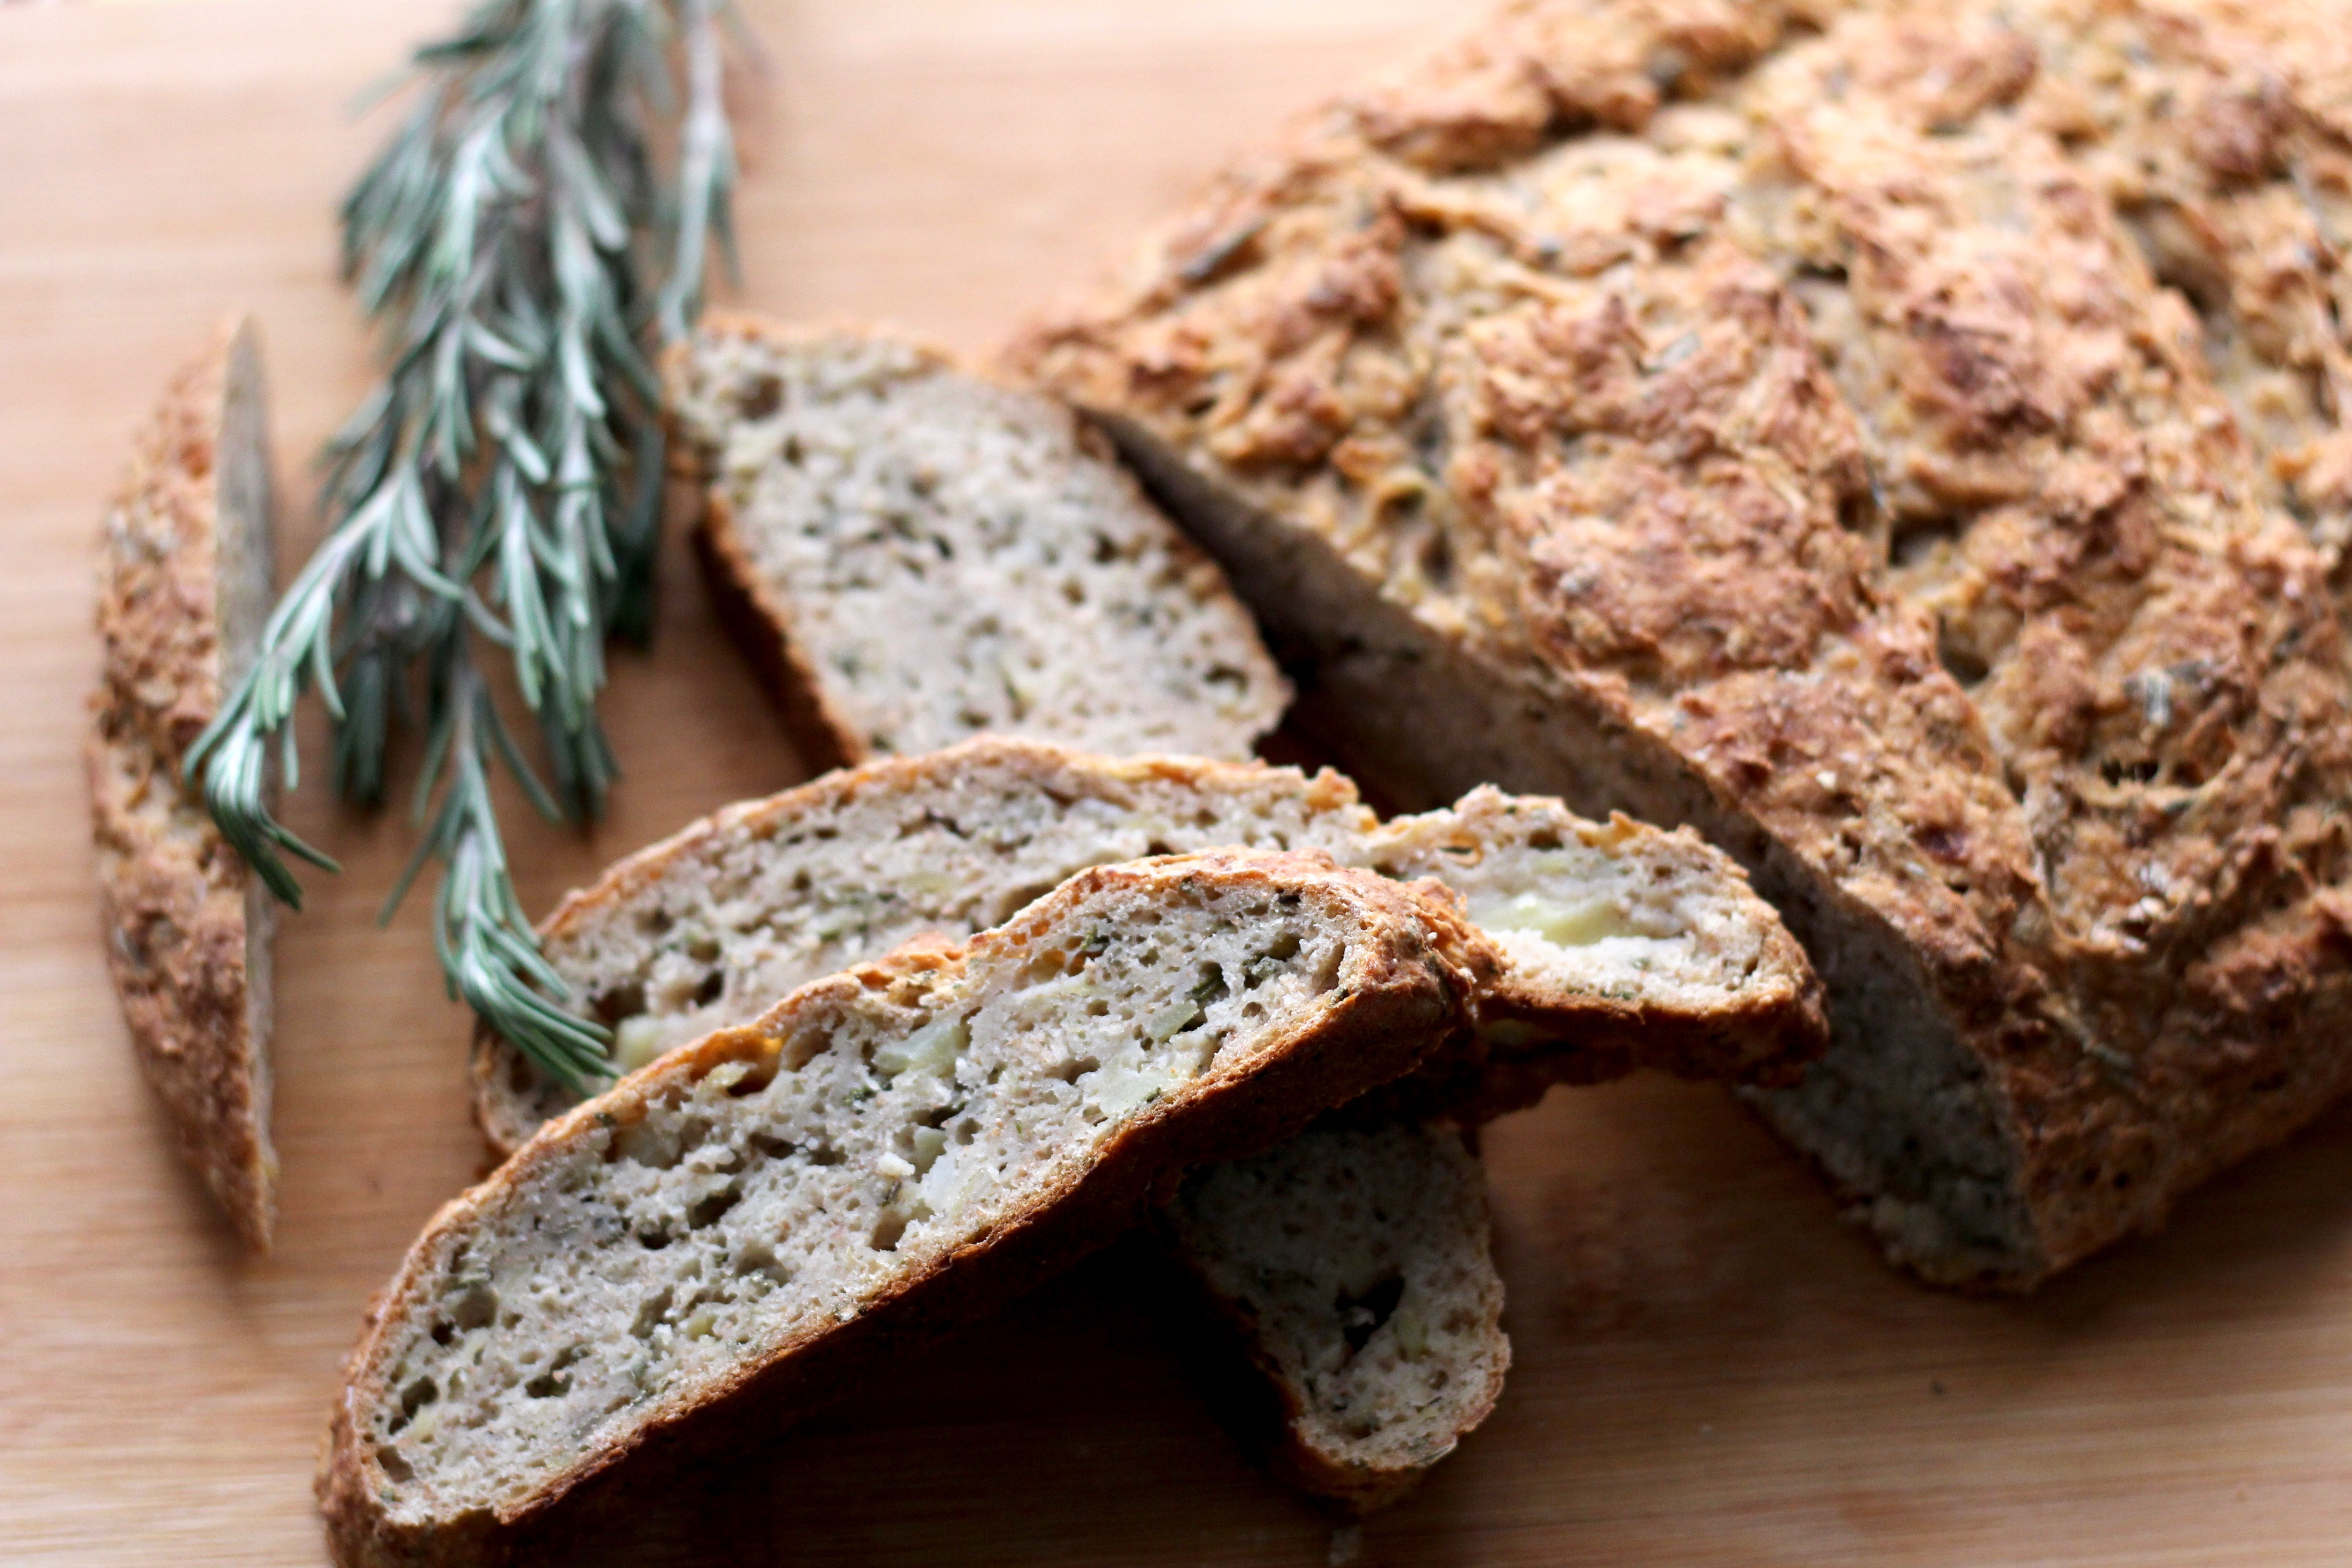
POTATO ROSEMARY SPELT BREAD
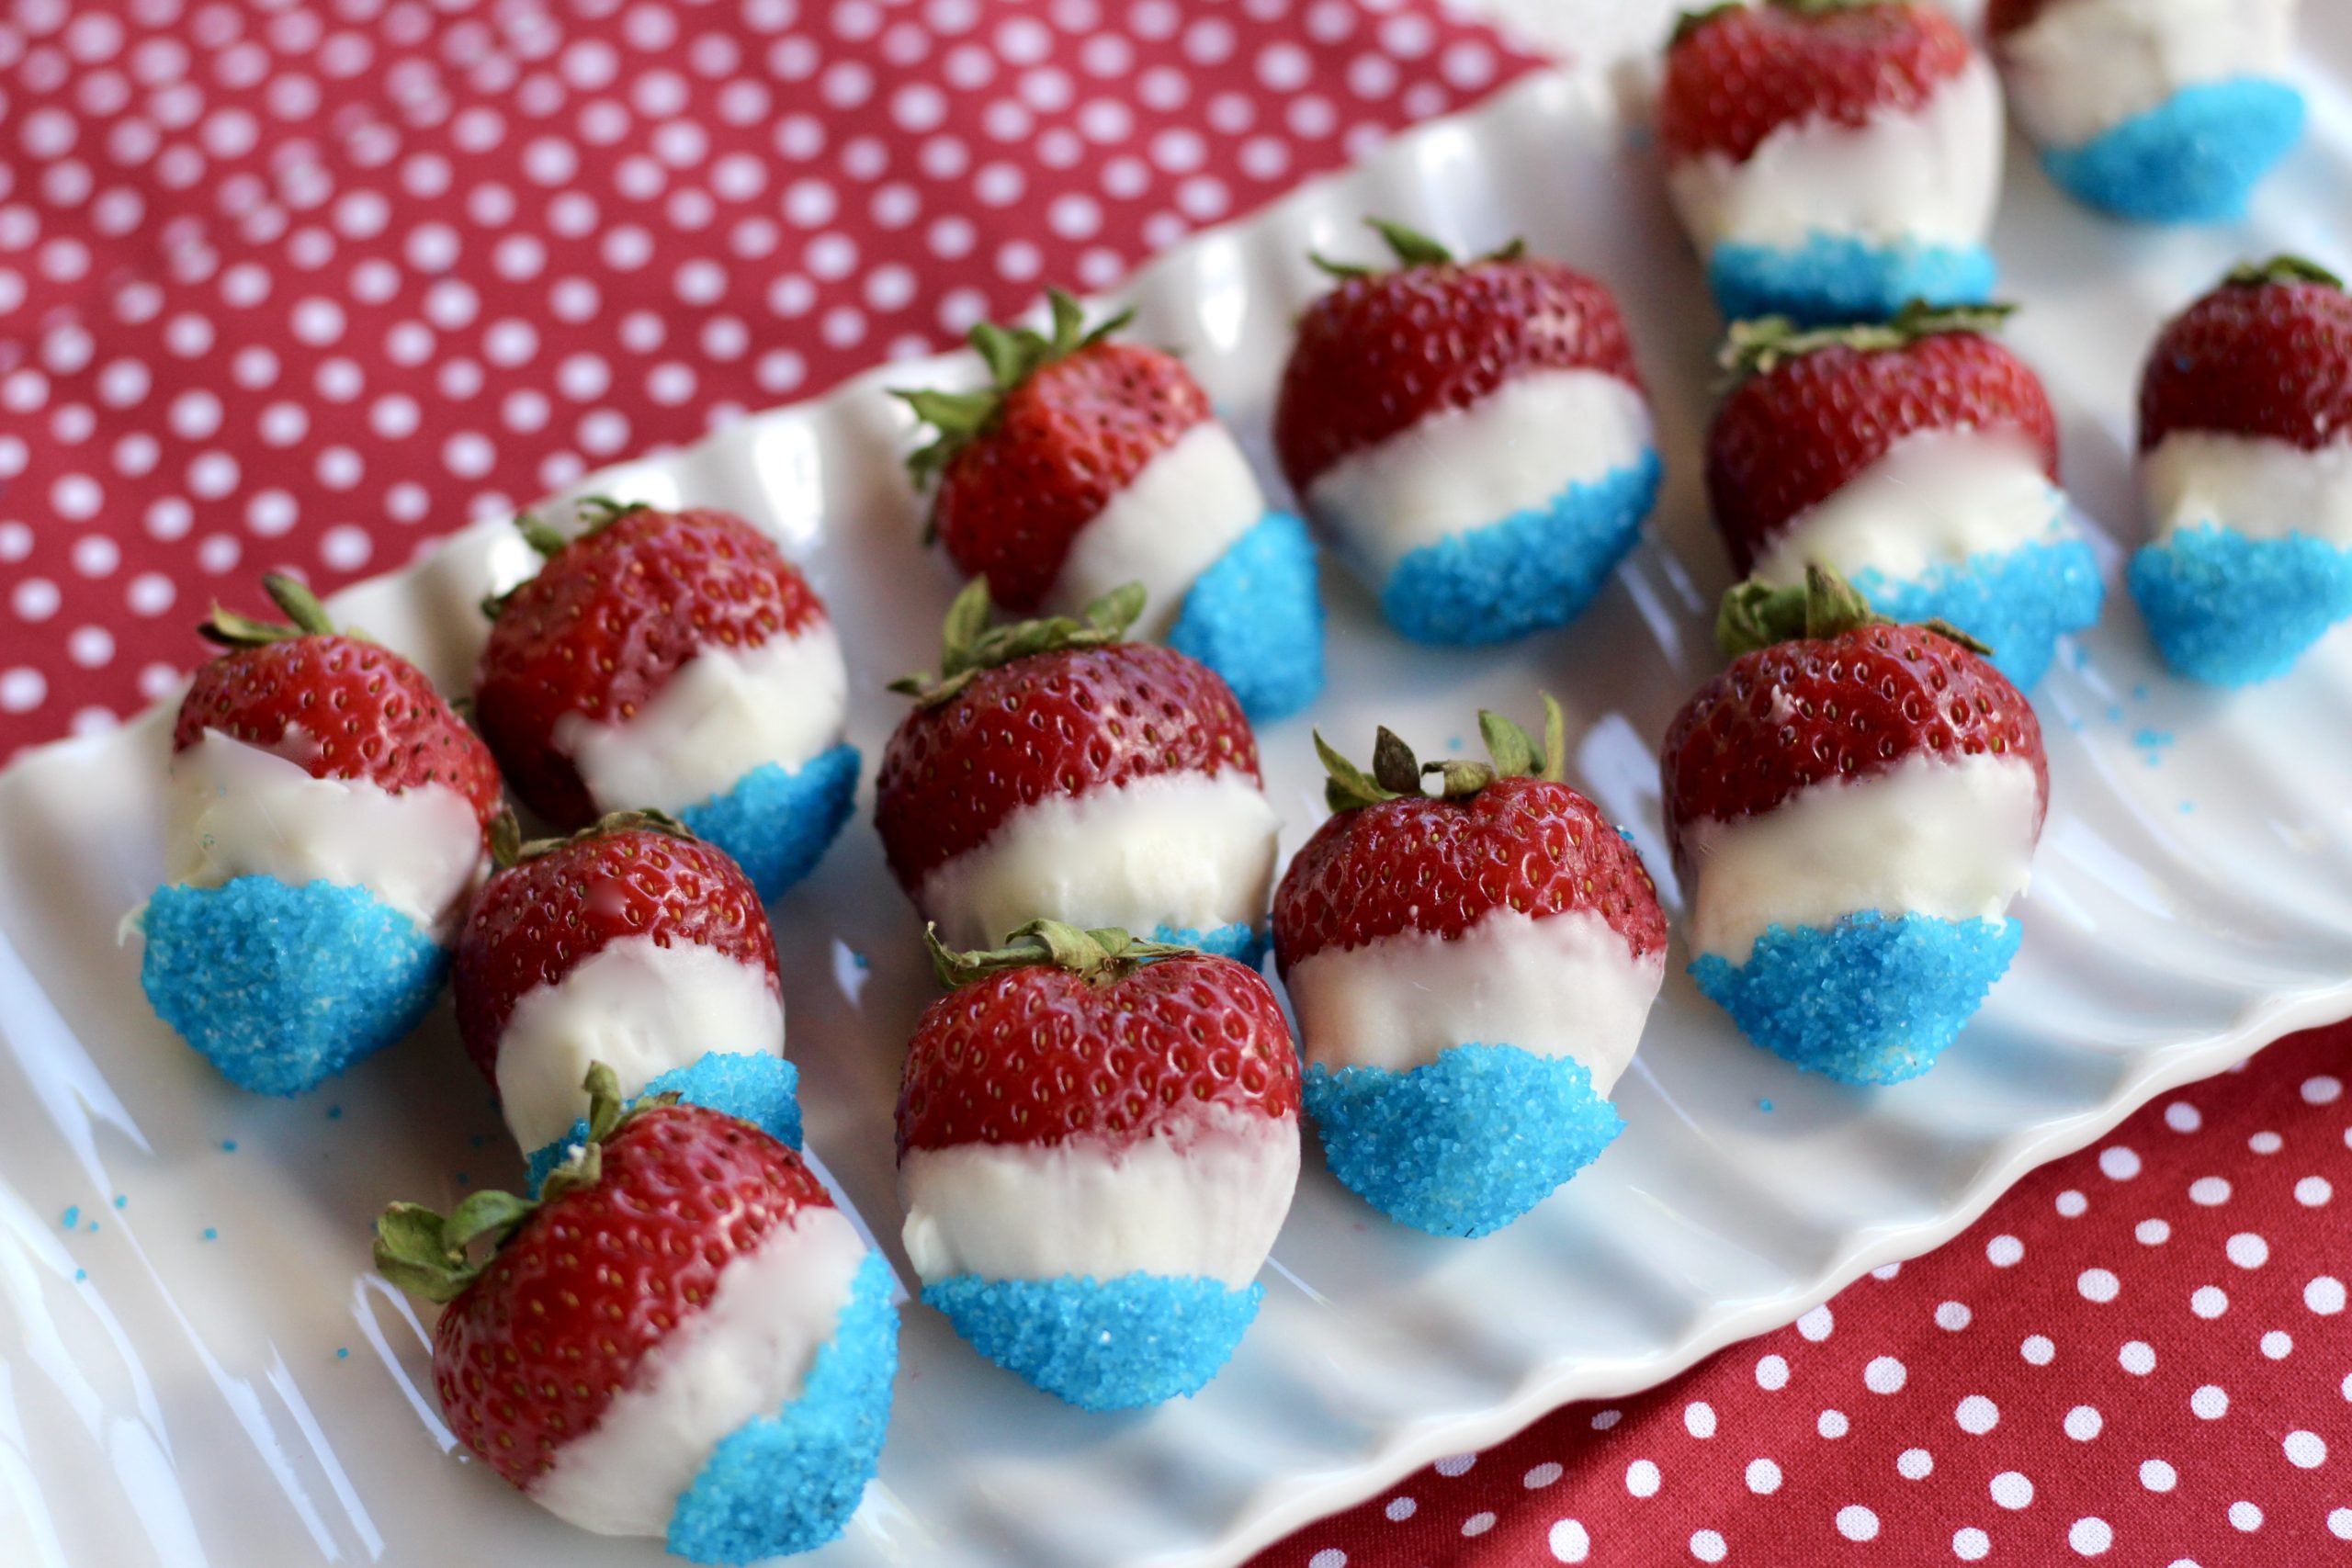
CHOCOLATE-DIPPED GLITTER STRAWBERRIES
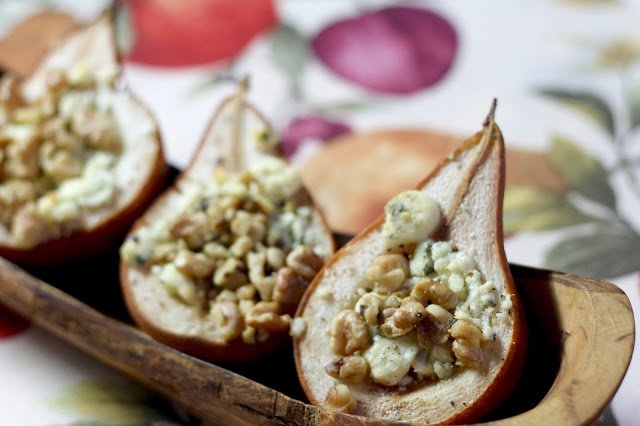
BAKED PEARS WITH BLUE CHEESE & WALNUTS
2 comments
[…] © Diary of a Mad Hausfrau […]
Love how bright these baked up! Hope you enjoyed a lovely long weekend. Were you the city or in the country for it?