Let’s kick off this next two weeks of Valentine’s posts with something unique shall we? Red velvet fondant. Wow.
Next week I’ll be teaching a Valentine’s themed cookie decorating class with the proceeds going to a good cause. One of the techniques I will demonstrate is covering and decorating rollout cookies with fondant. With a rare few exceptions I always make my own marshmallow fondant. Once you have it down, the process goes quickly and is way more economical that store bought.
One of my favorite tricks for making fondant is to take a package of the many flavored marshmallows available now and make marshmallow fondant out of them. Pumpkin pie spice, key lime, lemon meringue, peppermint marshmallows all have flavor and color and you can skip steps adding these in the creation process.
Store bought red velvet marshmallows probably exist somewhere but unfortunately nowhere in my vicinity this past weekend. So I improvised using regular marshmallows and scored!
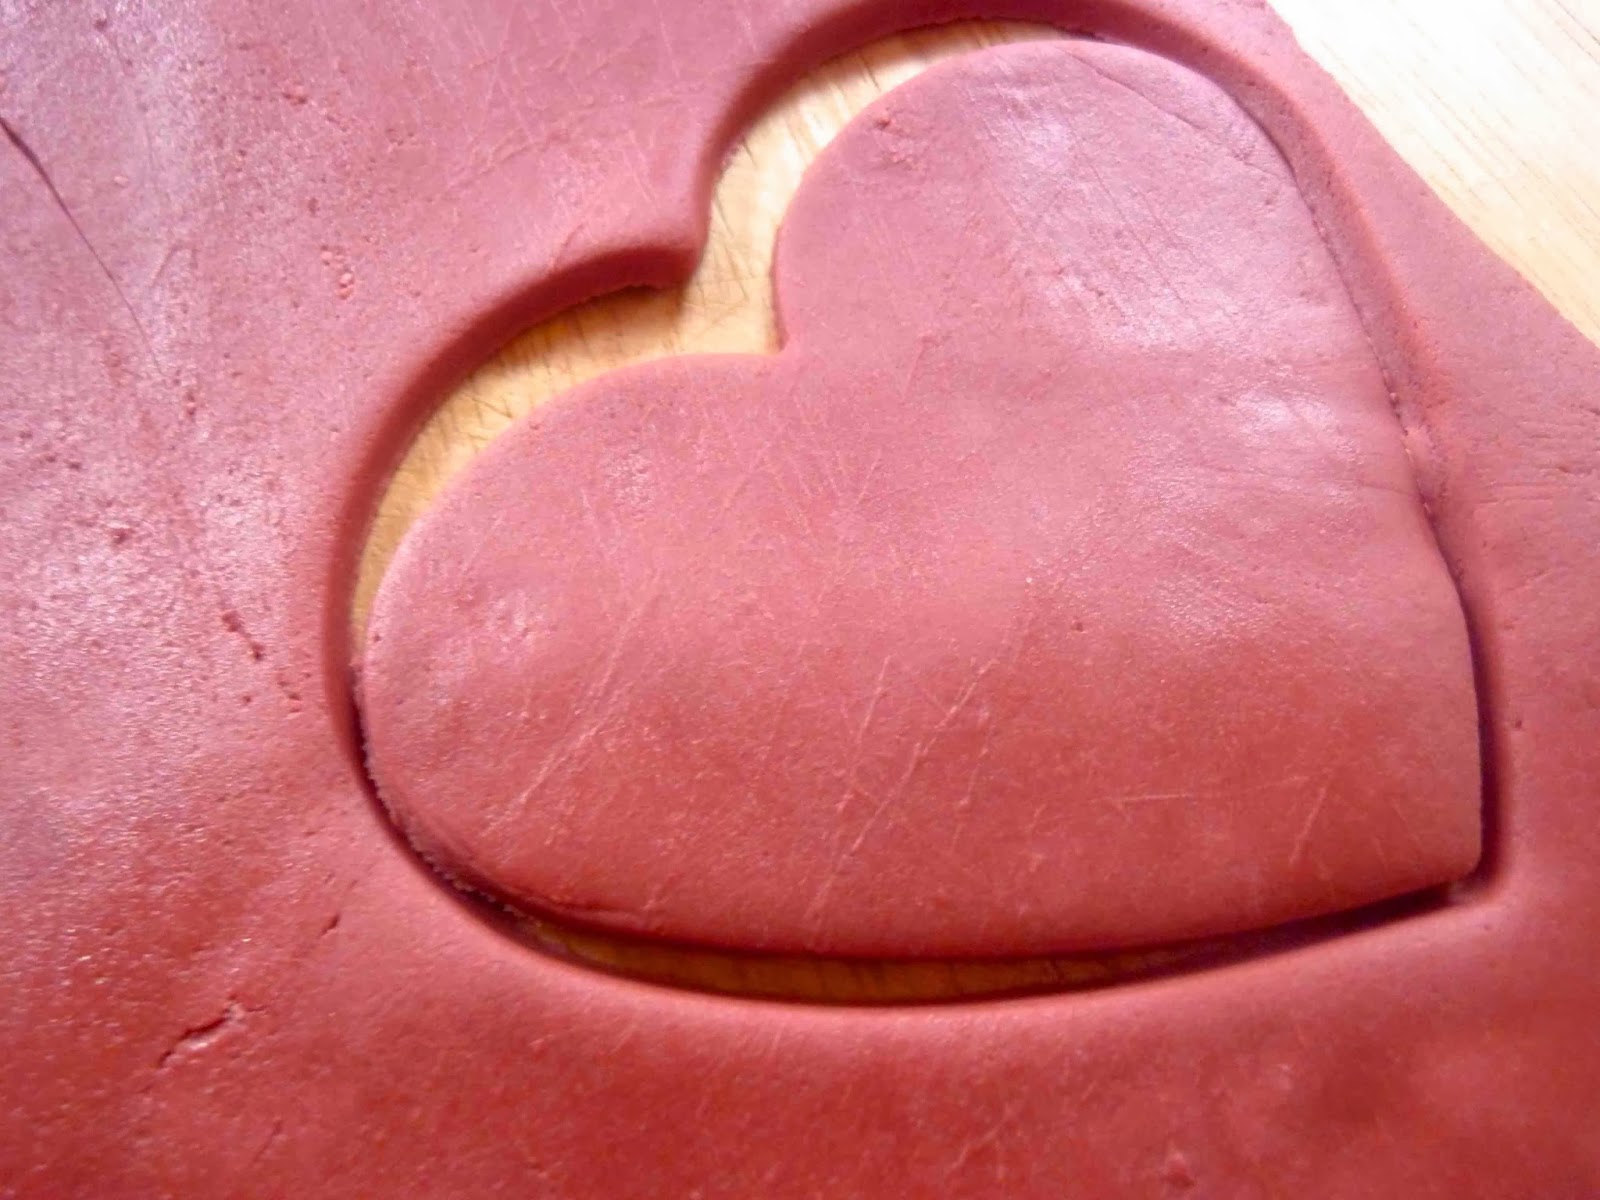
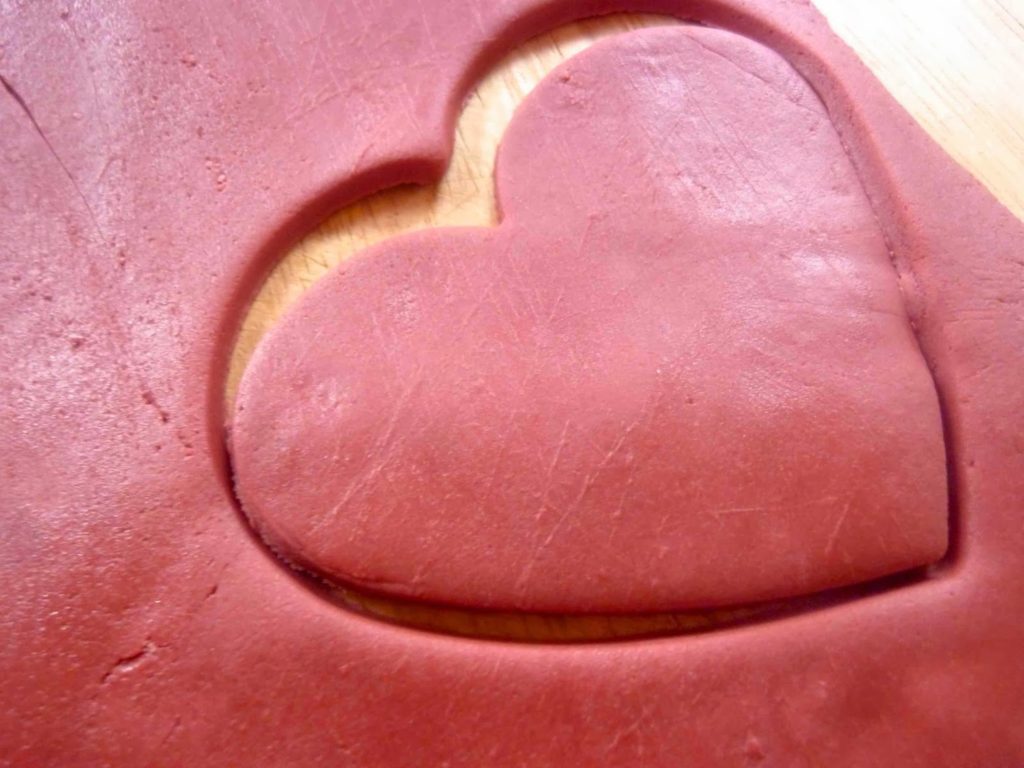
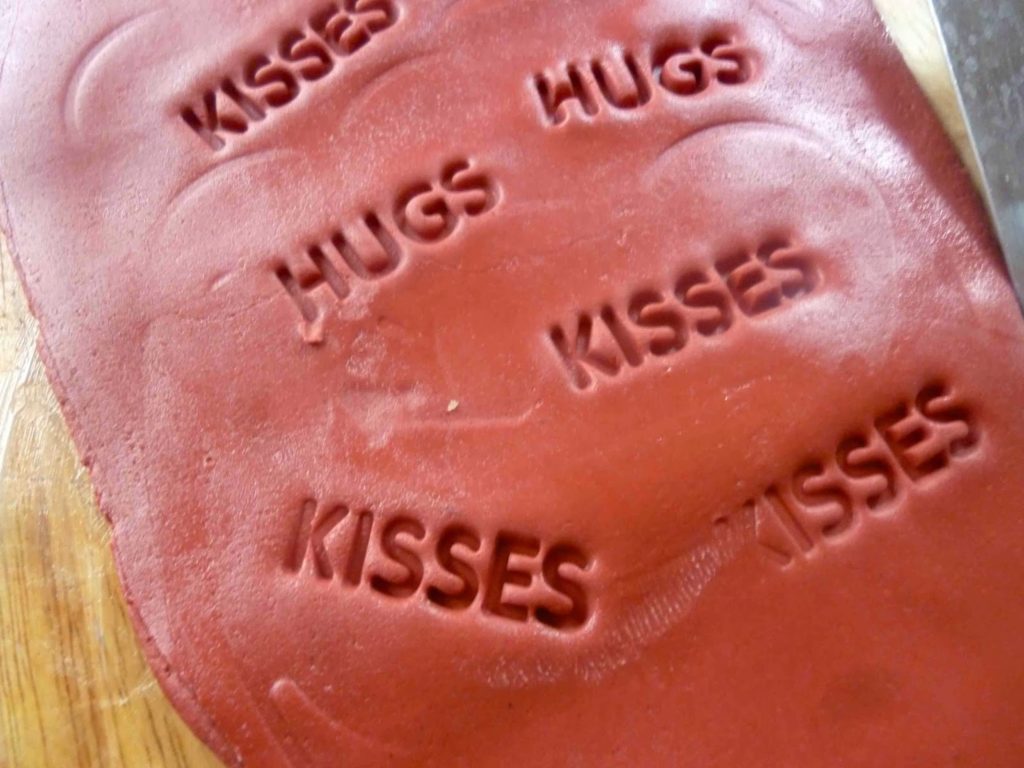
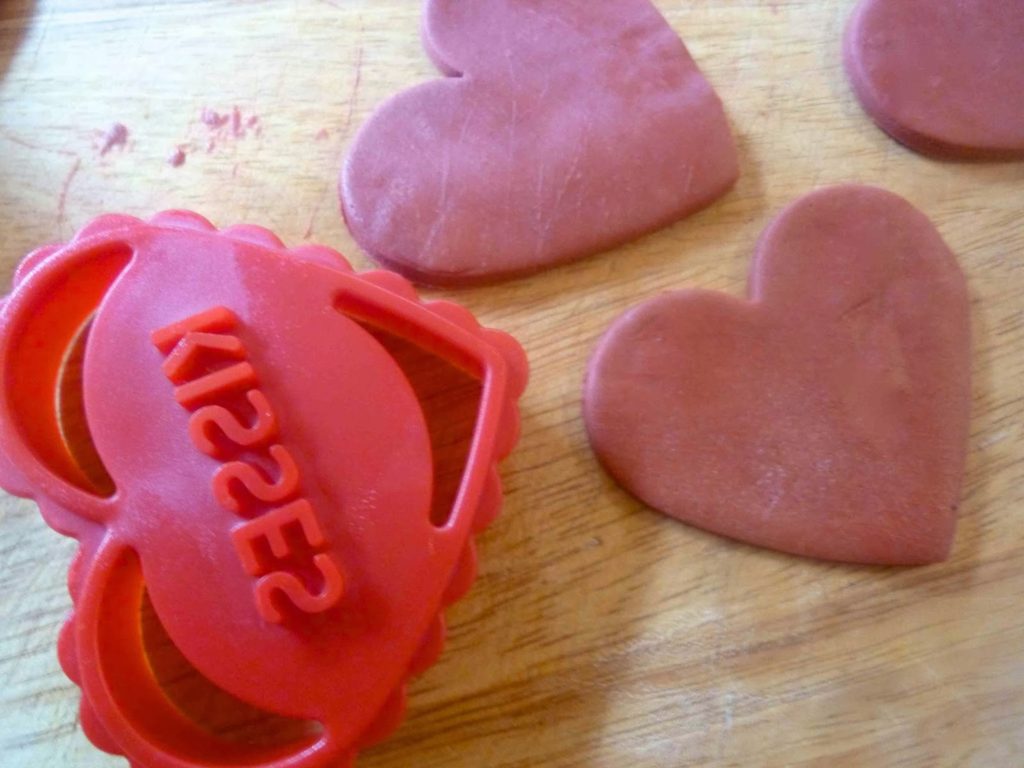
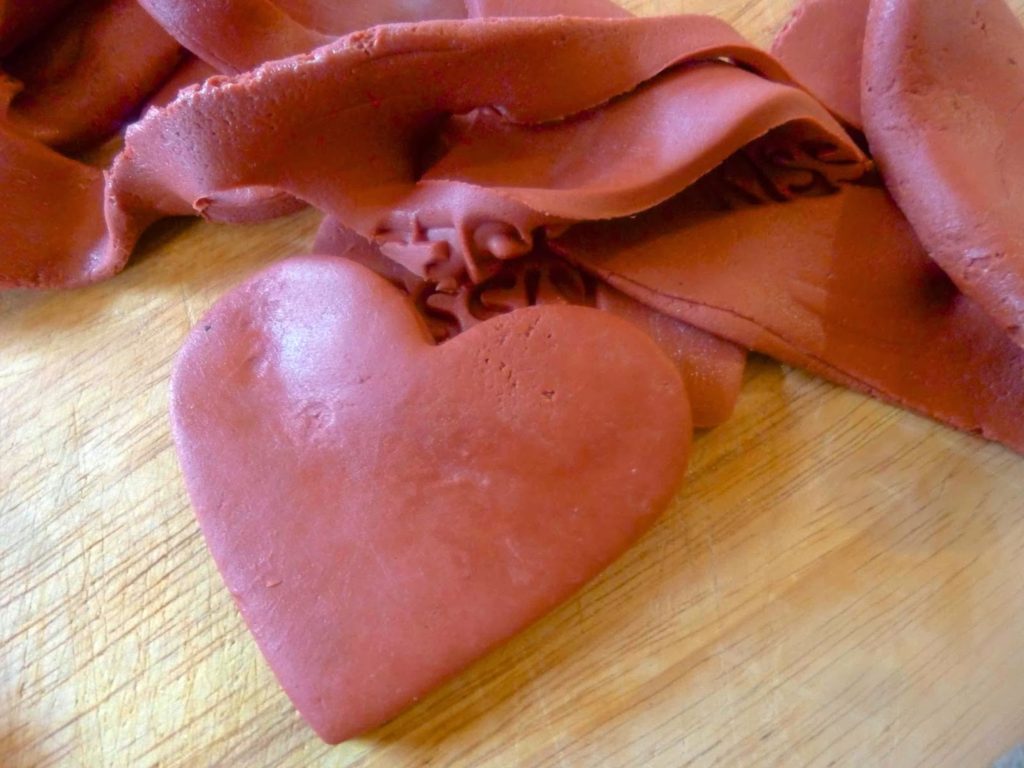
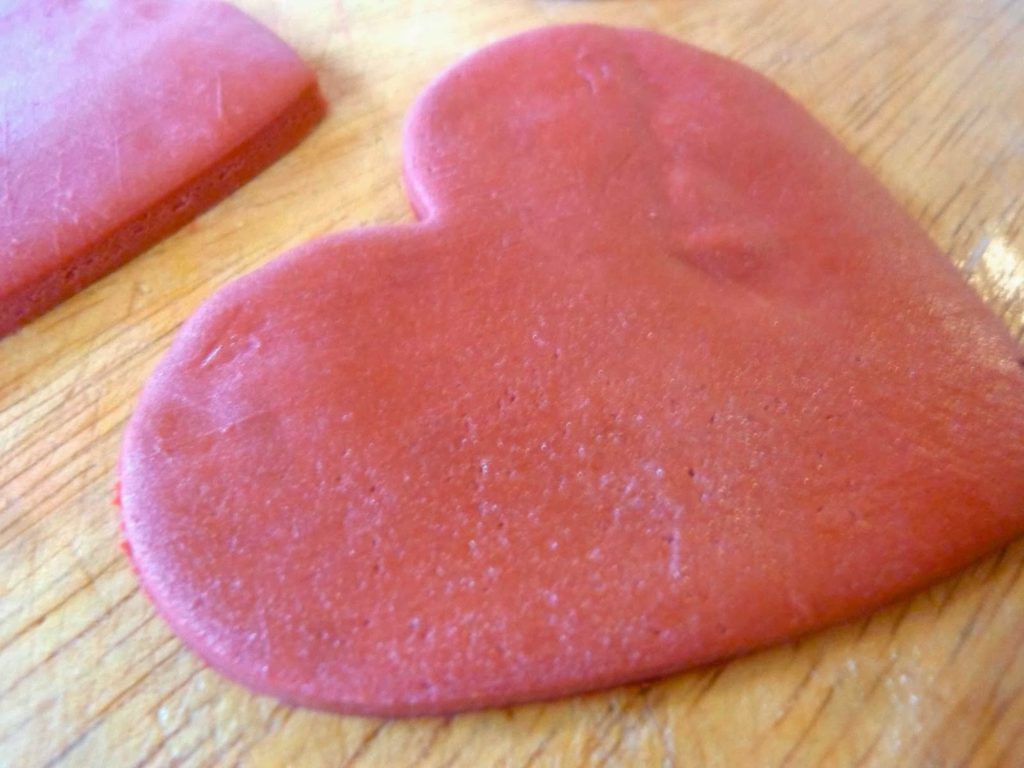
Adding a bit of cocoa and red velvet flavoring to the recipe for homemade marshmallow fondant yielded this fabulous looking and tasting red velvet fondant. I am going to bring some to my class for the students to use.
This fondant had great taste and color. Now what to create with it…..
- 1/2 bag (1/2 pound) marshmallows (minis melt easier but you can use regular sized ones as well.)
- 2 tablespoons of water
- 1 pound of powdered sugar plus 2 cups
- 1/3 cup cocoa powder
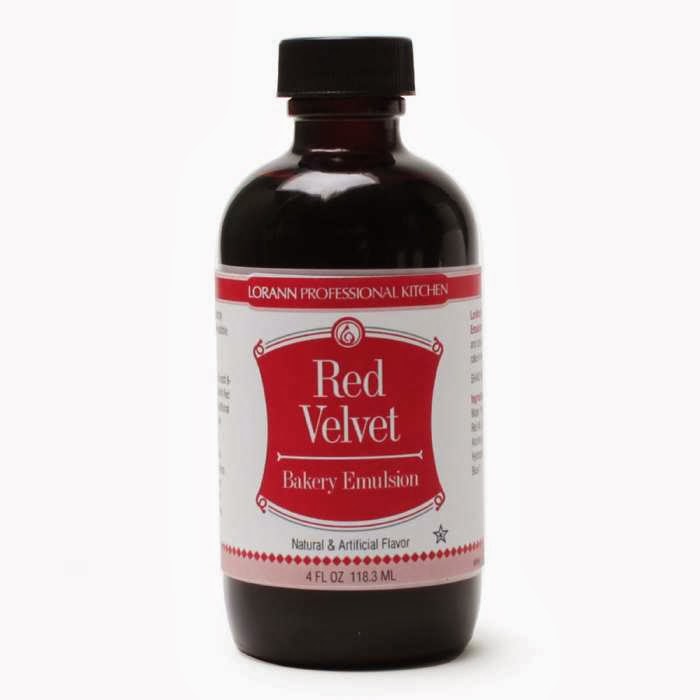
- 2 tablespoons red velvet bakery emulsion
- Crisco or shortening
- plastic wrap or cling film
- Fit your mixer with the dough hook attachment, Cover the inside of your mixer bowl and the dough hook with Crisco or shortening. Then also grease a heat safe bowl, and a wooden spoon.
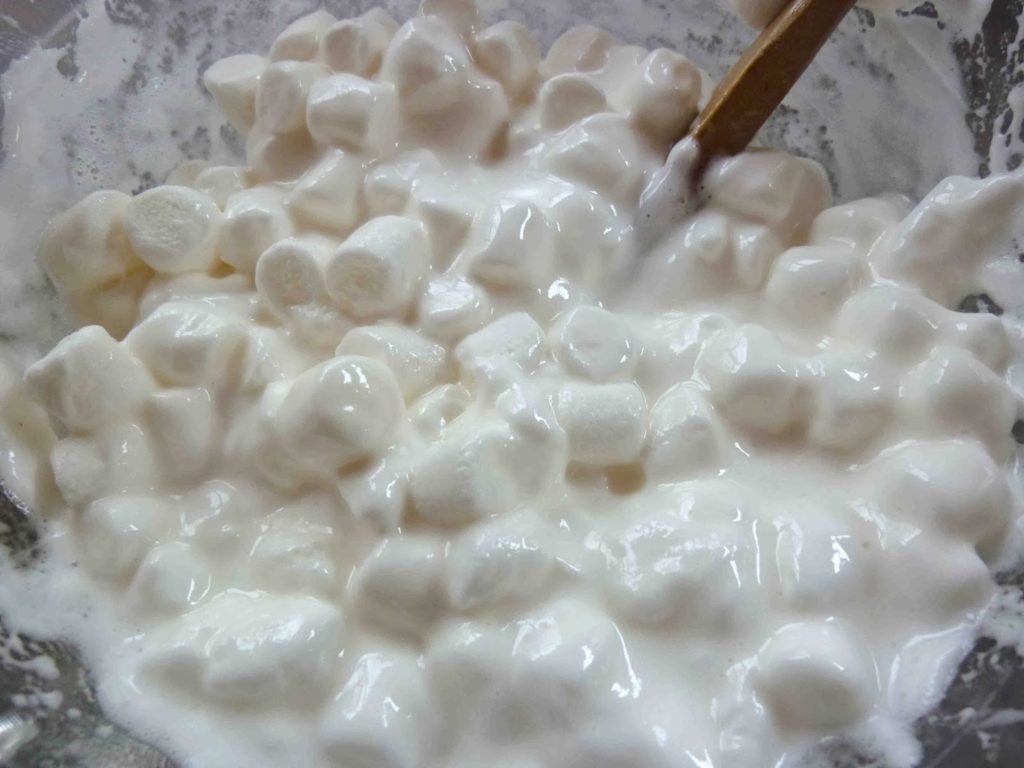
- Place marshmallows and water in the bowl.
- Microwave the marshmallows for 30 seconds at a time stirring the mixture in between with the wooden spoon.
- When the mixture is the consistency of Marshmallow Fluff, transfer to the mixer and add the 2 cups of the powdered sugar, cocoa powder and red velvet emulsion.
- Continue adding powdered sugar one cup at a time until fondant forms.
- Cover your work surface with your hands with Crisco or shortening.
- Dump the fondant on the greased surface and knead the fondant until all the sugar disappears.
- Wrap in plastic wrap until you use it.
- Wrap leftover fondant tightly in plastic cling film and store in a zip lock bag.
In the meantime here are some funny food blogger posts that amused and entertained me this past month.
Lentil Breakdown’s Baby Names for Foodies
The Best Super Bowl Food Commercials at Cooking Channel TV
Food Diggity’s Just Add Stiches

3 comments
Great looking red velvet fondant (thanks for sharing your recipe). I much prefer homemade fondant over store bought. I think it's wonderful that you are donating your time and talents to do a decorating class with proceeds going to charity!
What a terrific idea – clear instructions too. Can't wait to see your Valentine's line-up!
Perfect! I have never made fondant before…this is amazing.