Traffic Light Cookies
I saw a Sign and I shoulda just turned the page…
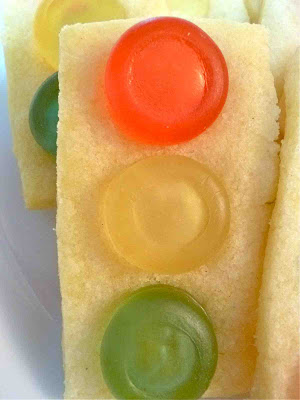
As I mentioned on my last post, the decorating aspect of these cookies was hell. Me! Me who cuts, colors, paints, pipes and adheres things to cookies with tweezers for hours. This recipe first got my attention because of the four ingredients total it takes to make them. And just look how cute they are…little traffic signals! Me thinks… fast, easy, nieces and nephew will love them and a cute post for the blog. Nuh uh.
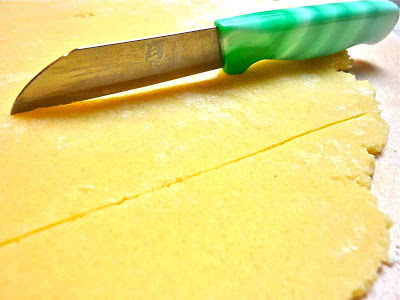
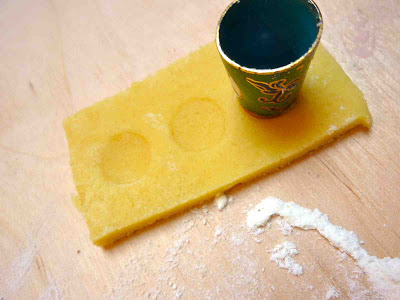
Everything went fine with making the dough. Even though I have way too many cookie cutters, of COURSE I didn’t have one in an appropriate shape to make the traffic light so I just eyeballed it and cut the rectangles out with a knife.
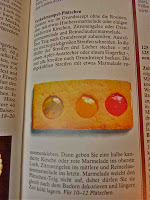
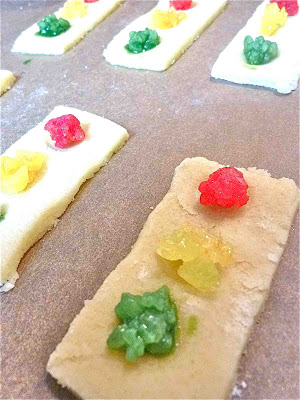
Then like the book instructed I took a thimble and made three indentations on each cookie for the lights.
Why then, would my husband buy me a thimble? Here’s why. When we met he was working as a flying doctor repatriating sick and injured Germans from other countries. Sometimes he was in three countries a week. It became a ritual for him to buy me something tacky or silly from each country he visited. When my collection got too big and silly, he vowed only to buy silly things that were in turn useful. Hence the thimble. Well 7 years later, Look Honey! I am finally using it! Although not for it’s intended purpose.
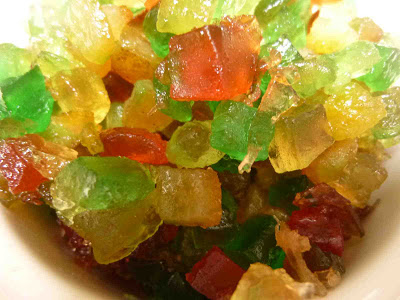
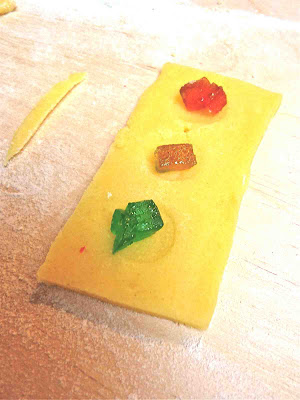
I thought I would use a few pieces of each color together and in baking, they would melt and fill the indentations. Right?
Wrong. They didn’t melt.
Undaunted, I got the bright idea to separate out the colors and microwave them on high, creating a jelly from the jellies. I could then scoop into the holes after they were baked. The jelly pieces did not melt. They burned.
Attempt #2
Back to the store I went with the idea of crushing colored hard candies and filling the holes before baking so they would melt to fill them. When I opened the package of candies at home, the colors were right but the shades were off.
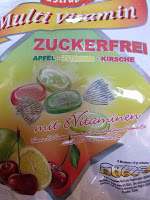
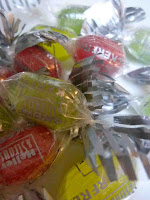
No problem. After crushing the candies, I used food coloring to intensify the colors.
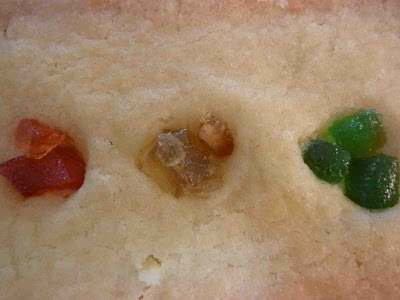
As I was filling the holes, I could see this wasn’t going to work.
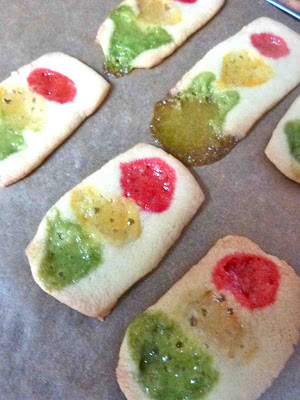
I kept adjusting the amount of candy I placed in each indentation, even using only a finely ground version but the result was as expected…
(insert big slow WHAH WHAH sound here)
Is there a website out there for cookie wrecks? I gave up for the time being and made Raisin Hearts with half the dough.
Attempt # 3
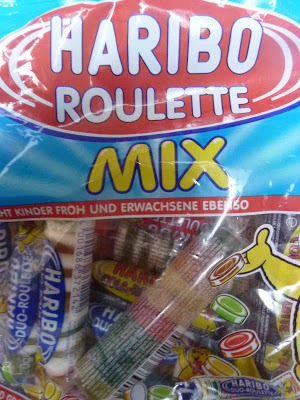
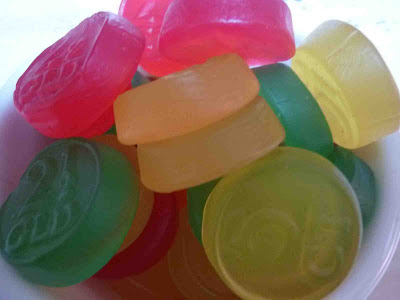
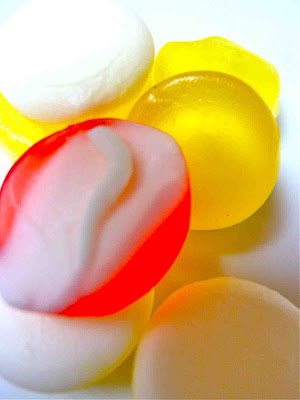
Because I am stubborn I had to give it another go. Never mind that I could have made dozens of batches of 90 ingredient cookies by now, no damn four ingredient cookie was going to get the better of me! Back to the store I went to find something to decorate the cookies as they were cooling instead of baking it in. This time I bought round gummies in the colors I needed, one brand from Haribo and another generic brand.
Some of these Haribo Roulettes had marshmallow on one side. I sorted out the right colors and with a scissor, trimmed off the excess marshmallow and placed them in the indentations right after the cookies came out of the oven. The generic ones were too large and didn’t look so great when I cut them down so I stuck with the Haribo roulettes. The bits of marshmallow left on the back of the candies melted right into the cookies providing an immediate sugar glue.
WARNING: If anyone in your household is a hardcore gummi monster (like my husband) you might need to hide these. I had just spent 20 minutes snipping off the marshmallow parts when DH cruised through the kitchen. Before I could stop him, he grabbed a handful of my newly trimmed gummies and shoved them in his mouth.
Finally! Just like it says on the Haribo commercial:
(Haribo makes children happy and adults as well)
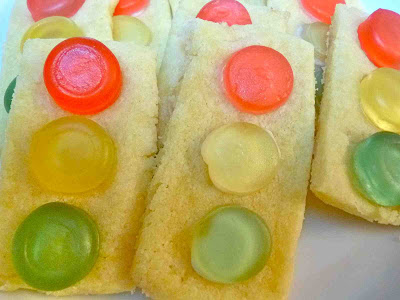
Traffic Light Cookies (Verkehrsampel-Plätzchen)
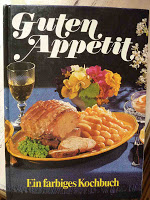
Source: GUTEN APPETIT, Ein Farbiges Kockbuch
Publisher: Olde Hansen 1972
Ingredients:
1 Stick of Butter
1/2 Cup of Sugar
1 Egg yolk
1 + 1/2 Cups of Flour
1 Package of red, green and yellow colored gummies
Directions:
-Preheat oven to 325 Degrees F
-Beat butter and sugar together until light an fluffy .
-Add egg yolk and mix thoroughly.
-Knead in the flour.
-Roll out on a floured surface and cut out cookies with a rectangle shape or hand cut with a knife.
-Bake for 10 -12 minutes.
Makes about 20-24 cookies.
Tip: Roll the dough a bit thicker than normal otherwise your indentations can make the dough too thin.


