Before I get to the treats, something more important first – Ruby over at Tomayto Tomaaahto has launched Foodies Sans Frontiéres. I think it’s the best thing I’ve seen come out of Project Food Blog. You can read about her eureka moment on her brilliant post HERE:
Foodies Sans Frontiéres is a fundraising site that benefits The Hunger Project. Visit the site, grab one of the beautiful badges she’s created (check out mine to the right), donate or just help out brainstorming fundraising ideas.
She has created a beautiful idea to make a difference, now it’s up to us to keep it going.
On to the treats:
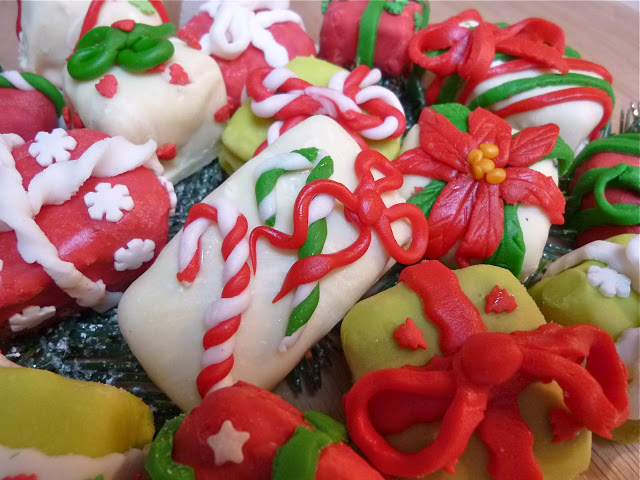
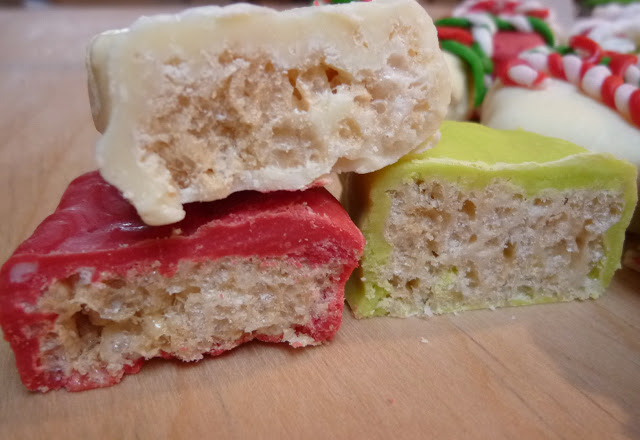
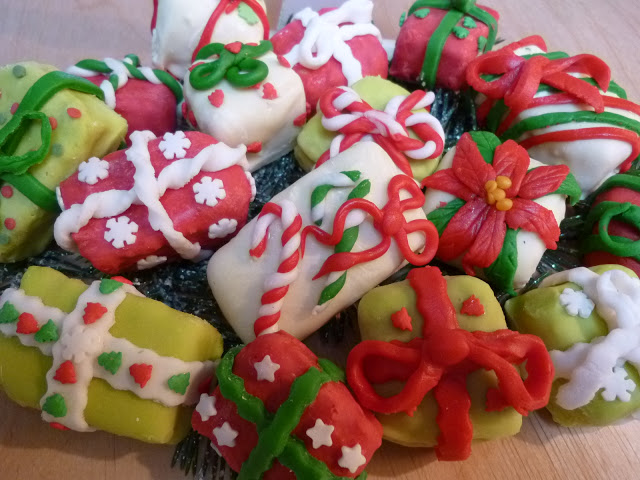
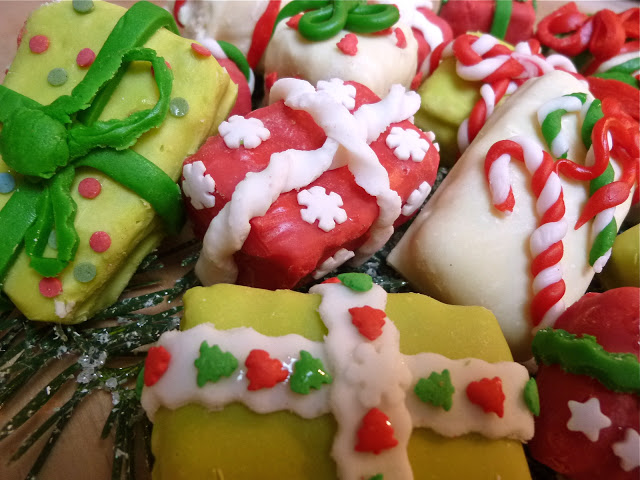
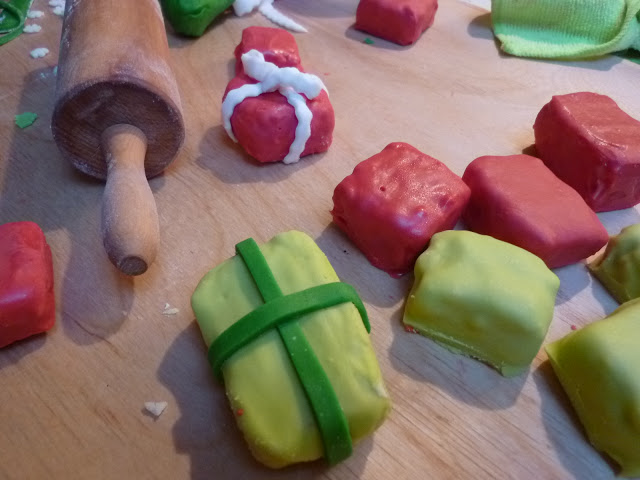
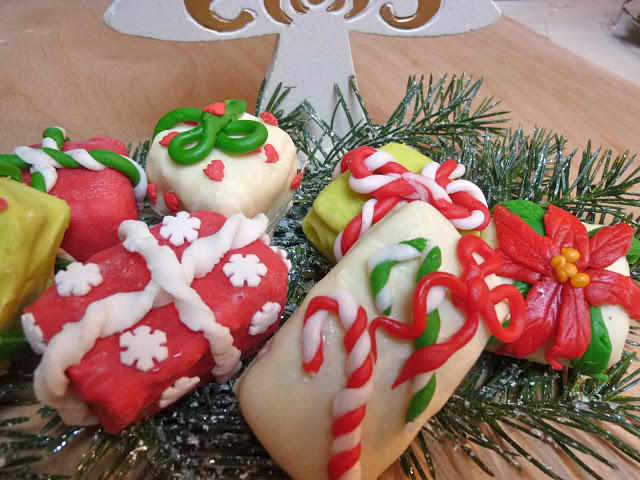
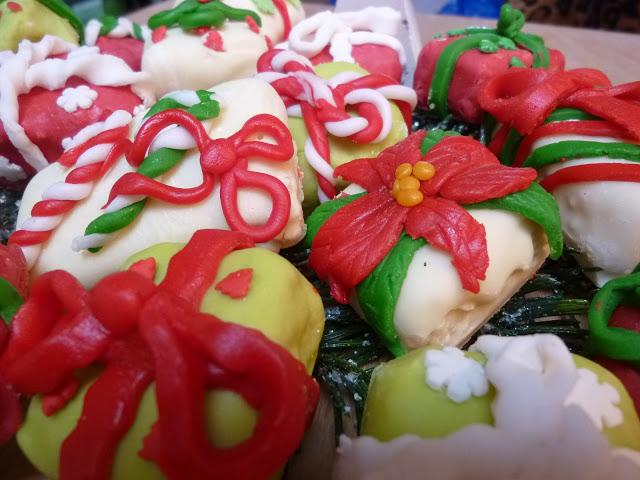
I had the idea to make bite sized rice krispie treats dipped in chocolate and decorated to look like presents.
Being a sucker for a beautifully wrapped present, I spend a lot of time choosing and designing my holiday wrapping for my gifts to others. Most times I avoid red and green for holiday gifts. I stick to off beat color schemes like gold and white, turquoise and silver, electric purple and gold or of course, hot pink. I also love to tie stocking stuffers, candy or ornaments onto the wrapped presents. But I didn’t want to get too off (the holiday) message here so I went with red, green and white.
Directions:
- Mix up half a batch of rice krispie treats using the recipe on Kellogg’s website. Recipe HERE. I halved the recipe.
- You can press the treats according to the directions in one pan and cut the boxes out after the treats have hardened, however, this is what I did:
- I put half of the mixture into a silicon brownie bite mold.
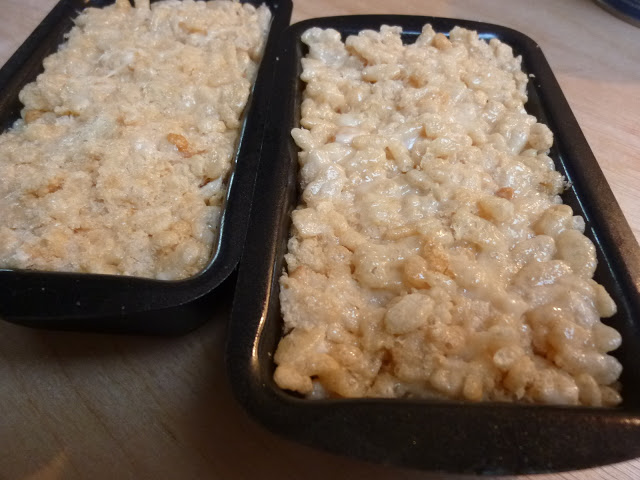
- And pressed the other half into small loaf pans.
- This way, I already had pre-formed little square packages and bigger pieces I could cut into odd sizes.Note: You want to get the surface as smooth as possible so press extra hard when filling the mold and pans.
- Stick everything in the fridge to harden.
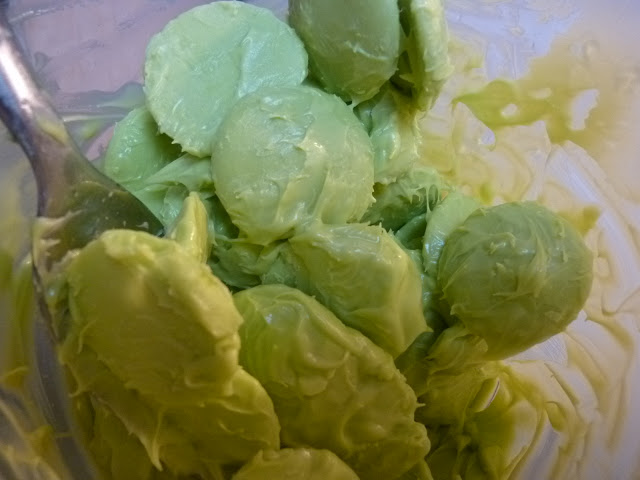
- Melt some red, green and white candy melts separately according to the directions on the package. I only had green melts on hand so I melted some white chocolate, added a bit of Crisco, and colored half red using Wilton’s red from their candy coloring line.
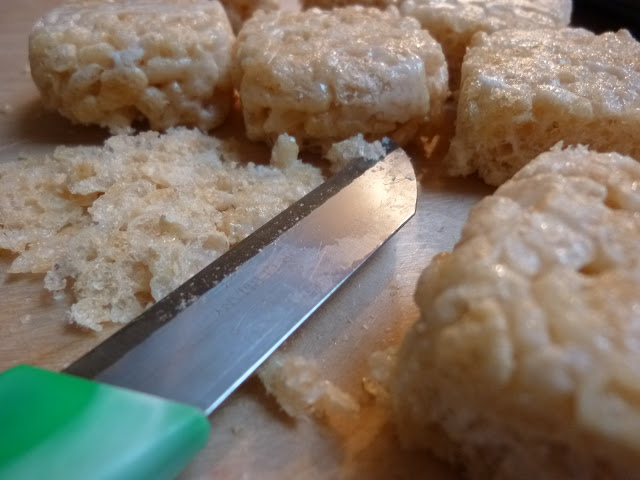
- Remove the treats from the fridge. Trim the edges with a sharp knife to get them as square as possible. You can make different shapes squares, rectangles. I will try a round one next time using a cookie cutter.
- Dip the treats in the different chocolate colors.
- Transfer to a baking sheet lined with baking paper and put back in the fridge to harden.
- While the chocolate covered treats are cooling, organize your decorations and, if desired fondant. I had some leftover I made previously. You can make and color your own beforehand, Recipe HERE.
- When the chocolate has hardened on the treats, remove them from the fridge and trim off the excess chocolate.
- Go to town with your decorations! For mine, I made the “ribbons” out of fondant, using a pastry cutter wheel to create the scalloped versions. Using corn syrup, I glued the sprinkles or quins onto the little packages. I restrained myself from glittering them. You can thank me now.
These are versatile. I can see them being adapted for anything from a baby shower to a girlie birthday party.


3 comments
Great!
What a cute idea! and very beautiful too!
Thanks for the FSF plug Lora – you're an awesome cheerleader! And while I'm at it, thanks for the glitter restraint too. 😉 Actually, I think a tiny shimmer on the poinsettia leaves would not have been too OTT. But I know it would have been hard to stop there. These are the cutest things ever – I may try them but with ready-made krispie treats since I'm still traumatized by my one and only ever krispie treat making escapade. 😮 Happy Holidays to you and all your readers!