
Ever since I made these:

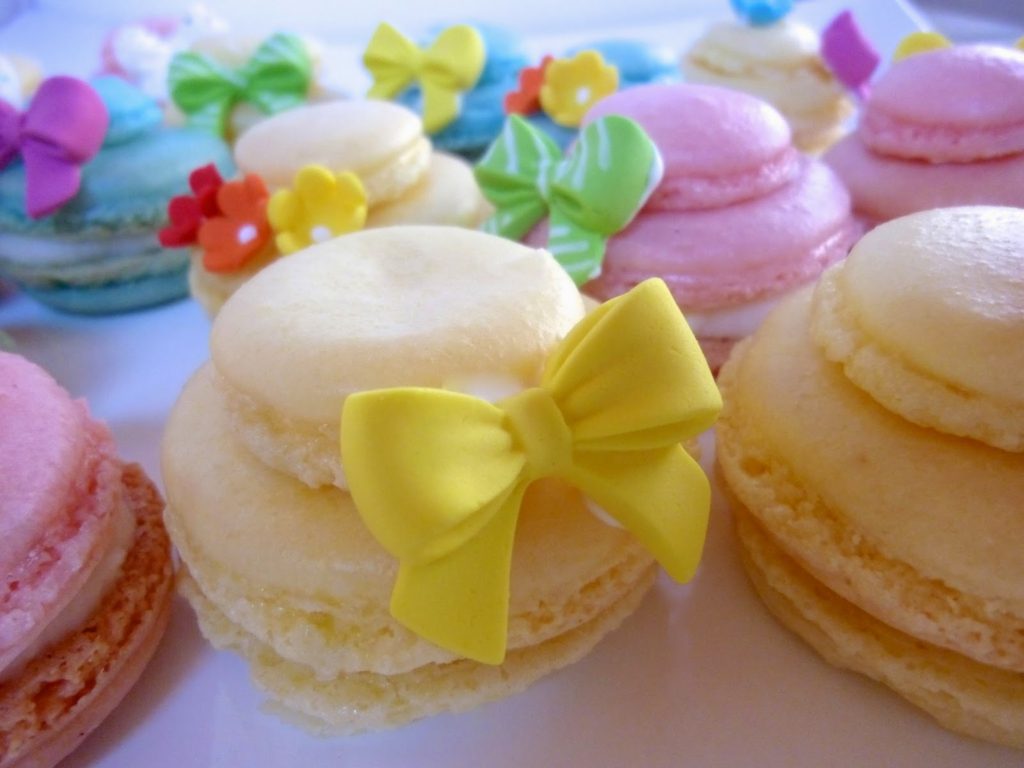
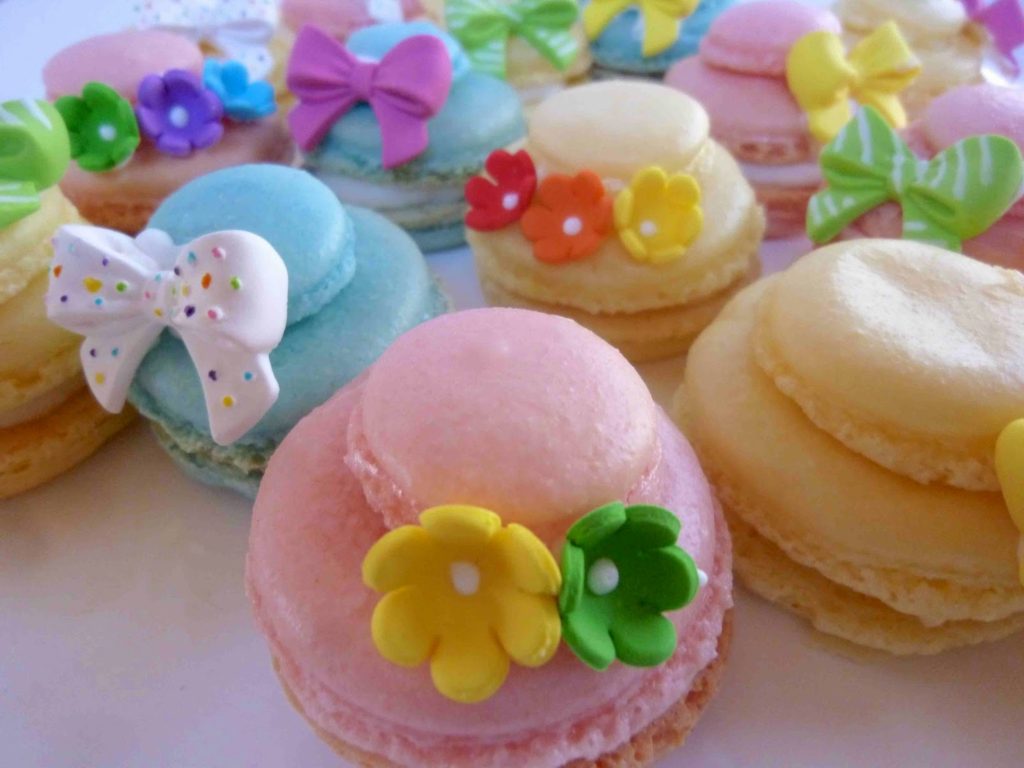
I’ve wanted to make these:

It only took me FOUR years.
Better way late than never, because I am so happy with the result. These are relatively simple to make.
To create these Easter bonnet French macarons, I divided the macaron batter into three equal parts, then tinted each pastel colors of yellow, pink and blue.
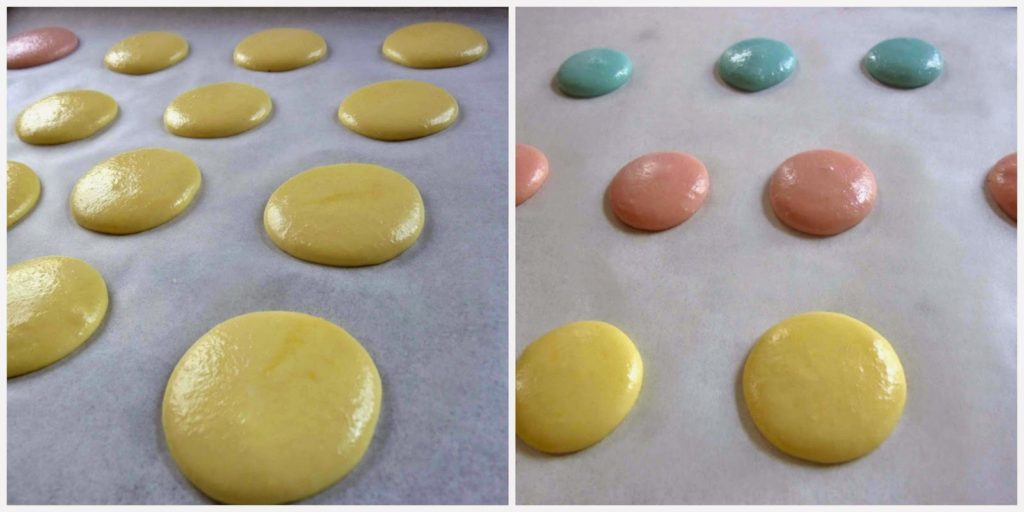
I piped each color batter out onto parchment paper in two sizes, one the normal size French Macaron and one mini. You have to pipe twice as many large ones as the minis. I almost forgot about this and would have had no bottom shell. Duh.
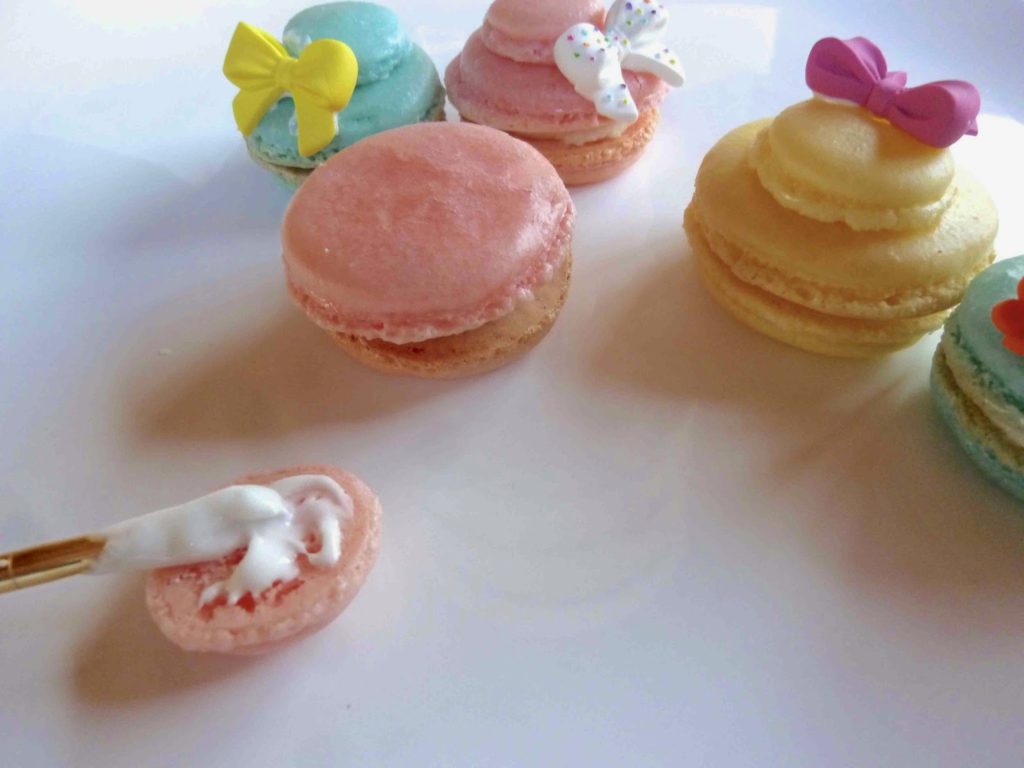
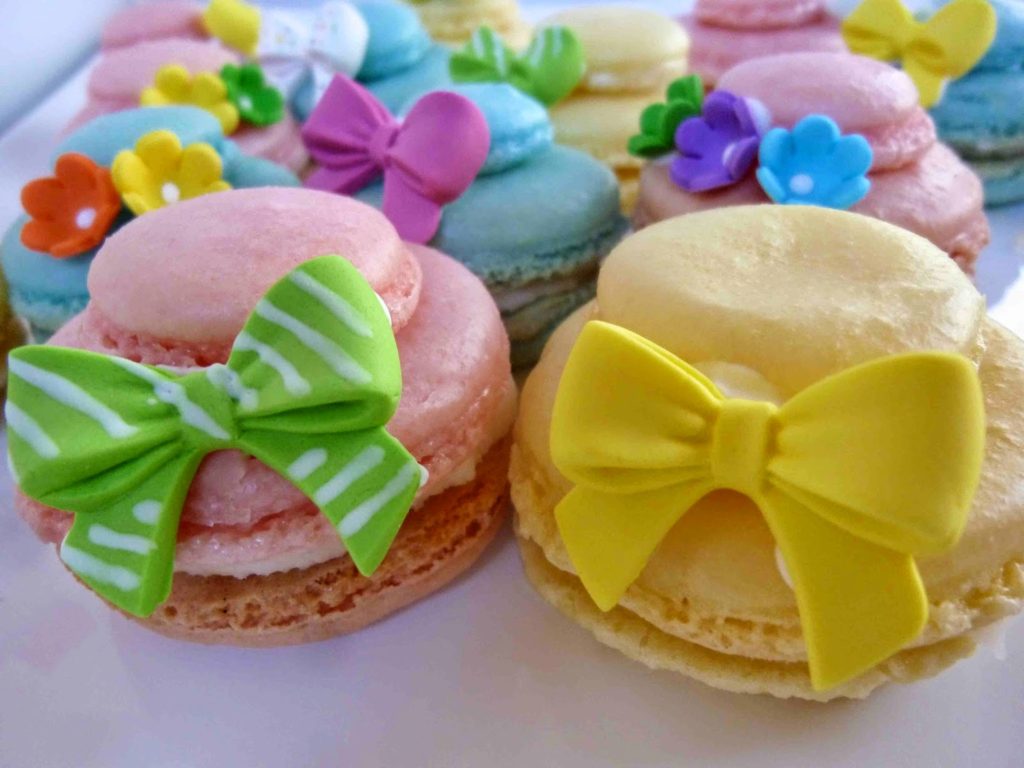
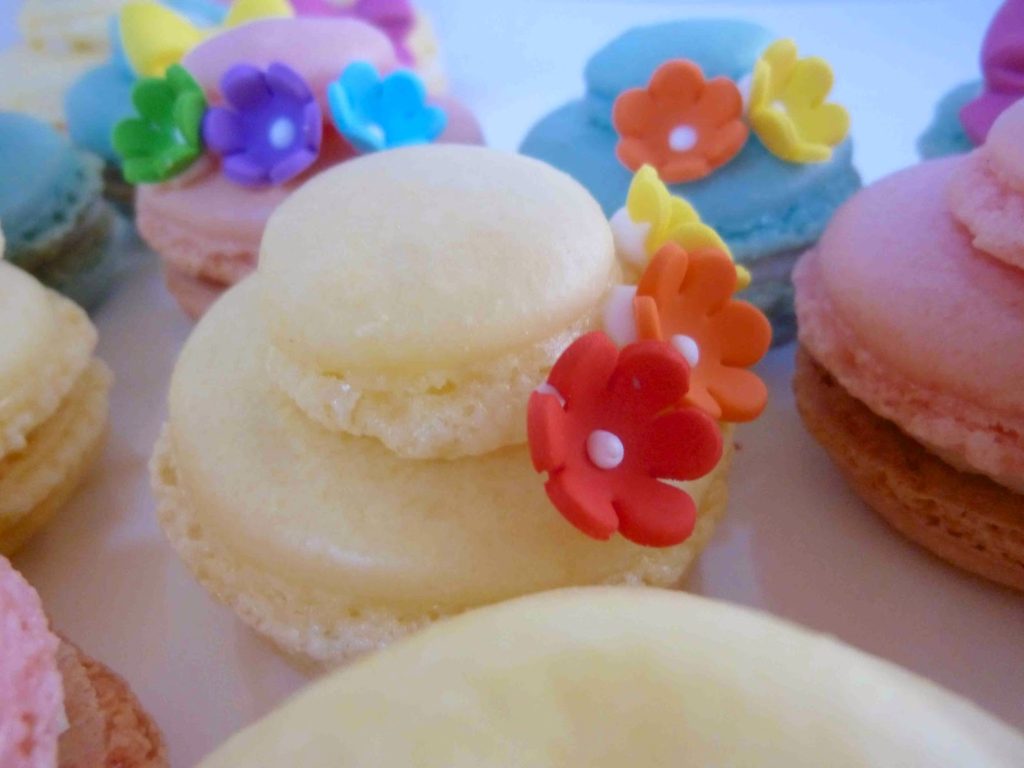
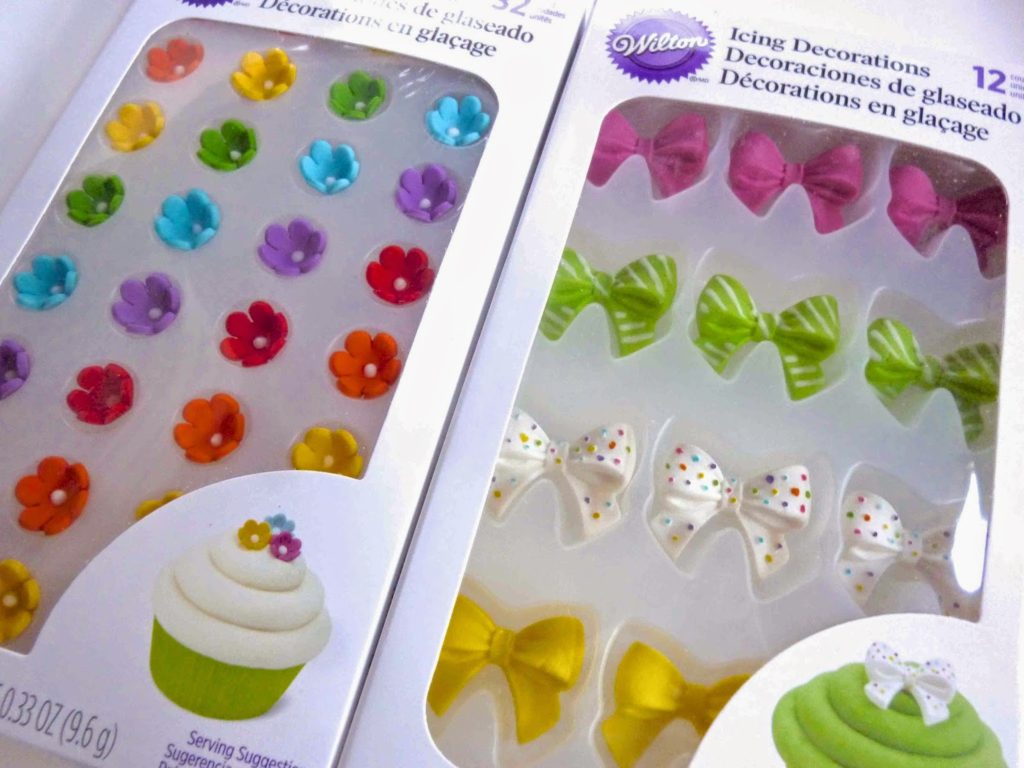
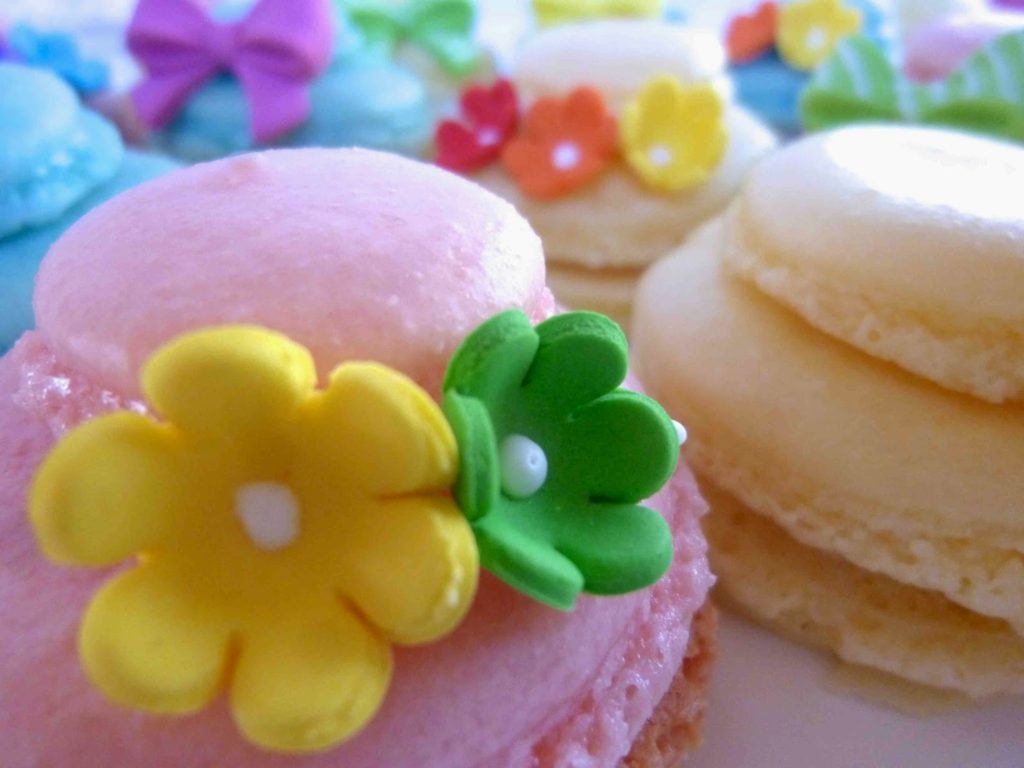
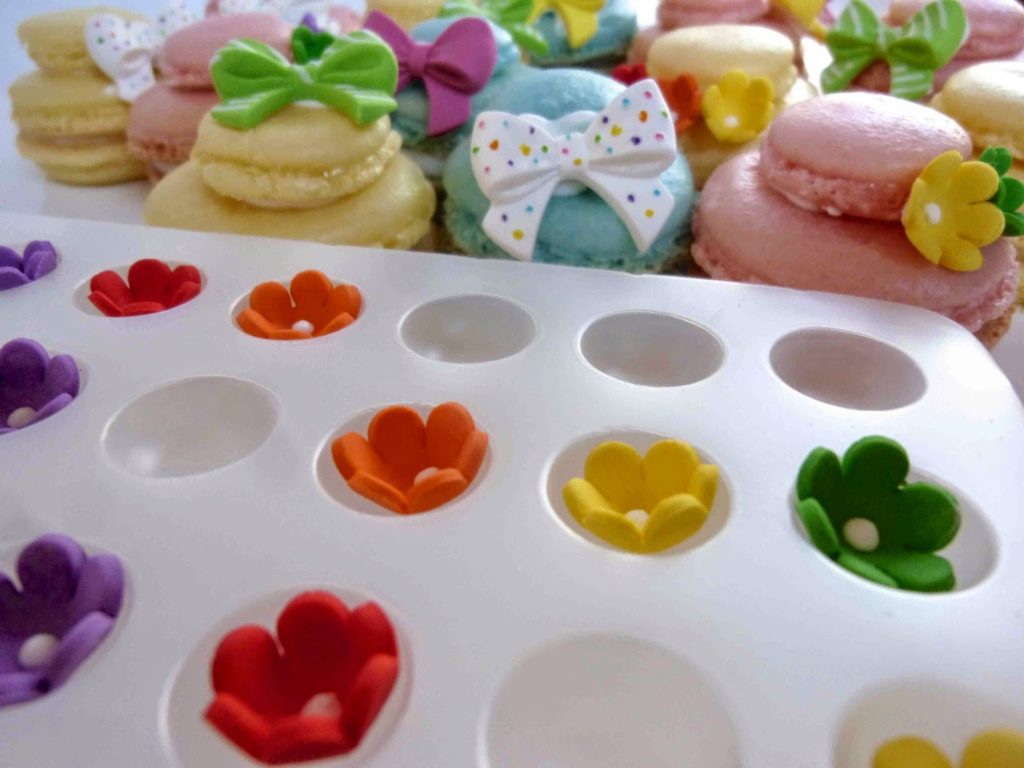
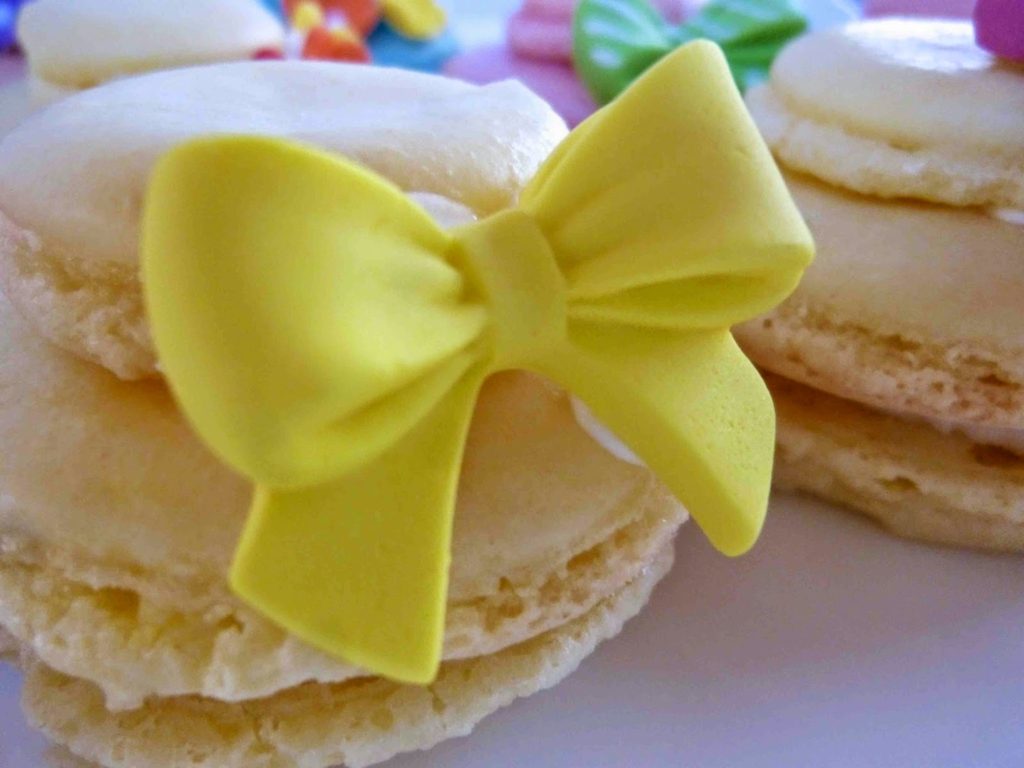
After baking, I used royal icing to adhere the smaller shell on top of the larger one. The shortcut I took was purchasing pre made sugar decorations and using royal icing to affix them to the little hats. I usually like to make my own out of royal icing. This made things go much faster.
Anyone notice I restrained myself this time from embellishing with disco dust and sugar pearls?
As for the flavor, you can add any you desire. I left these plain and used some leftover buttercream to fill them.
I think these are super cute. I gave them away as a gift and got lots of ooh and ahhs and maybe even a squee or two from anyone I showed them too.

For the Easter Bonnet shells:
- 90 grams of egg whites – aged at least 2 days. Let them sit out on the counter uncovered.
- Pinch of cream of tarter
- Pinch of salt
- 25-50 grams extra fine white granulated sugar
- 200 grams of powdered sugar
- 110 Grams of almond flour*
- Powdered food coloring (optional)
- Royal icing (store bought or homemade)
- Sugar decorations (bows, flowers, pearls, birds, beads pearls, whatever you like)
*You can buy almond flour that has been ground with or without the skin. I use the later (blanched). The former looks really nice if you are not coloring the shells. You can also grind your own almond flour by putting whole or sliced almonds in a food processor or blender. If you do, make sure you throw a little of the powdered sugar in to prevent the almonds from forming a paste.
- Line two baking sheets with parchment paper or use a silpat.
- Sift the powdered sugar and almond flour together or pulse them together briefly in a food processor. Make sure there are no large pieces.
- Whip the egg whites. When they start to get foamy, slowly add the sugar. Continue whipping until you can turn the bowl upside down and nothing slides out. Add the pinches of salt and cream of tartar.
- Depending on how many different colors you would like, fit pastry bags with a large round tip, one for each color.
- Add the powdered sugar/almond mixture to the egg white mixture and fold, using quick strokes at first then slow down. The batter should have a “flowing like lava” consistency. Make a peak of the batter and if it does not disappear after 5-7 seconds, keep folding. If it’s running all over the place, you will probably have to start over.
- Depending on how many different colors you would like as a result, divide the batter into two or three equal parts. You can use a kitchen scale if you want to be exact. Fold in food coloring to each portion. Place the pastry bag fitted with a round shaped tip in a tall water glass and and fold the edges down around the glass.
- Fill the pastry bag with the macaron batter, twist the open top to secure and pipe two different sized circles, one regular sized and one mini sized onto a baking sheet lined with parchment paper or on a Silpat. Make sure you pipe twice as many larger shells than minis. Repeat with the other color batters.
- Let the macarons dry for about a half hour or until they harden.
- Preheat oven to 325 degrees F.
- Place the macarons on the middle rack in the oven. I keep the oven door propped open with a dish towel or wooden spoon.
- I place another empty baking sheet on top to prevent the shells from becoming toasted and discolored.
- Bake for 18-20 minutes.
- When checking them after 10 minutes or so, if the ones in the back of the sheet seem to be cooking faster that the ones in front, flip the tray around.
- To test to see if they are done, peel the baking paper or silpat back under the shell, if the shell comes off easily, they are done.
- If you do have a problem with the shells sticking to the surface when removed from the oven, lift up the baking paper and pour a bit of water underneath. this will steam them off the paper.
- Transfer to a baking rack and let cool completely before matching up the larger shells into pairs according to size and fill with your choice of filling.
- Brush a layer of royal icing onto the bottom of a mini shell, then adhere it to the top of the French macaron.
- Use royal icing to affix the sugar decorations to the mini macaron hats.
- Let the icing dry completely before serving the French macarons.
1 comment
These macarons are so cute and creative! LOVE them!